WooCommerce Quick Checkout Plugins
David Mainayar on | 7 min read
While there are many ways to go about it, the most important is optimizing your checkout process. Because if a customer has filled their cart with every single product they want to buy but get stuck at the final step of checking out, then they might just give up and leave your store without buying anything. You definitely don’t want that!
To lower cart abandonment rate (and increase sales) during the checkout process, consider implementing direct checkout. By doing so, you’ll simplify checkout to cut down not only the number of steps involved in completing a purchase, but also the mistakes that could happen along the way. And the smoother checkout is for your customers, the more sales you’ll get. So let’s answer the following questions.
- What is direct checkout?
- How can direct checkout help improve the checkout experience on your WooCommerce store?
- What WooCommerce direct checkout plugins are out there?
- Which is the best option in the market?
What is direct checkout?
If your ecommerce store has a more legacy checkout process, then buyers might have to go through the following steps to complete a purchase:
- At the item’s product page: Add the item to their shopping cart.
- At the item’s product page: Click a Shopping Cart button to review the items in their cart.
- At the shopping cart page: Click a Check Out button to confirm their cart items.
- At the shipping page: Fill out their shipping address.
- At the shipping page: Click a Payment button to proceed to payment.
- At the payment page: Fill out their billing details.
- At the payment page: Click a Submit Order button to submit their order.
That’s a lot of steps! And at every step in the process, you’re giving buyers the opportunity to abandon their cart - which means the loss of a sale for you.
On the other hand, direct checkout streamlines the checkout process to help customers buy what they want quicker, and accordingly helps merchants reduce cart abandonment. It does so by reducing the number of checkout-related pages that customers have to go through to complete checkout.
For example, customers may be redirected to a single checkout page for filling out their billing and shipping details, and reviewing their order, all at once. Some direct checkout options may also launch a checkout window when customers click a ‘Buy Now’ button on an item’s product page, allowing customers to place their order without even leaving the page.
Why use direct checkout and what are its benefits?
As a WooCommerce entrepreneur, increasing sales is probably one of your top priorities. But to achieve this goal, you’ll have to put the needs and wants of your customers first. After all, they are the ones who decide whether to spend money with you.
Hence, you’ll need to provide a smooth checkout experience to help customers buy what they’re looking to buy. It’d be a shame to lose a sale just because a customer got frustrated over a complicated payment process, or because they got distracted and forgot to complete their purchase. With direct checkout making the checkout process more direct, customers can submit their orders with convenience and speed.
Implementing direct checkout is especially beneficial if you sell electronics, digital items, or spare parts for appliances. For such items, customers typically don’t need to spend that much time placing different items in their cart and comparing which ones to buy. Instead, they can usually check out right away - and direct checkout can help with that.
Still not convinced? Then here are more benefits of using direct checkout:
- Customers can buy from the product and cart pages: Skip the entire checkout merry-go-round and let customers submit their order from the product and cart pages. With fewer hoops to jump through, customers are more likely to complete checkout.
- Customers can check out with one click: Although rare, some direct checkout solutions can securely store customers’ shipping and billing details for future orders. This saves customers the hassle of constantly keying in their order information - instead, completing future orders becomes as easy as reviewing the saved details, and clicking one button to submit the order. Done.
- Reduce your cart abandonment rate: Be it shortening the checkout process or facilitating one-click purchase, direct checkout makes buying a breeze for customers. As a result, they’ll be less likely to abandon their cart.
- Increase conversions and average order values (AOVs): What happens when your cart abandonment rate goes down? Your conversion rate goes up! We’re not bluffing: most users of our PeachPay WooCommerce direct checkout plugin have experienced increases in conversions and their AOVs. To date, no user has reported decreases in conversion or AOV due to their use of PeachPay.
What are the top WooCommerce direct checkout plugins?
When it comes to quick checkout, there are many different options for WooCommerce. Some plugins will allow you to use a popup, or to add a button to your checkout page for one-click checkout.
It's important to choose the right WooCommerce plugin for your ecommerce store, and to think about what you need from your checkout process. It's also important to think about the kind of experience you want to create when customers check out.
To get you started, here are five WooCommerce direct checkout plugins to consider using for your online store.
1. PeachPay
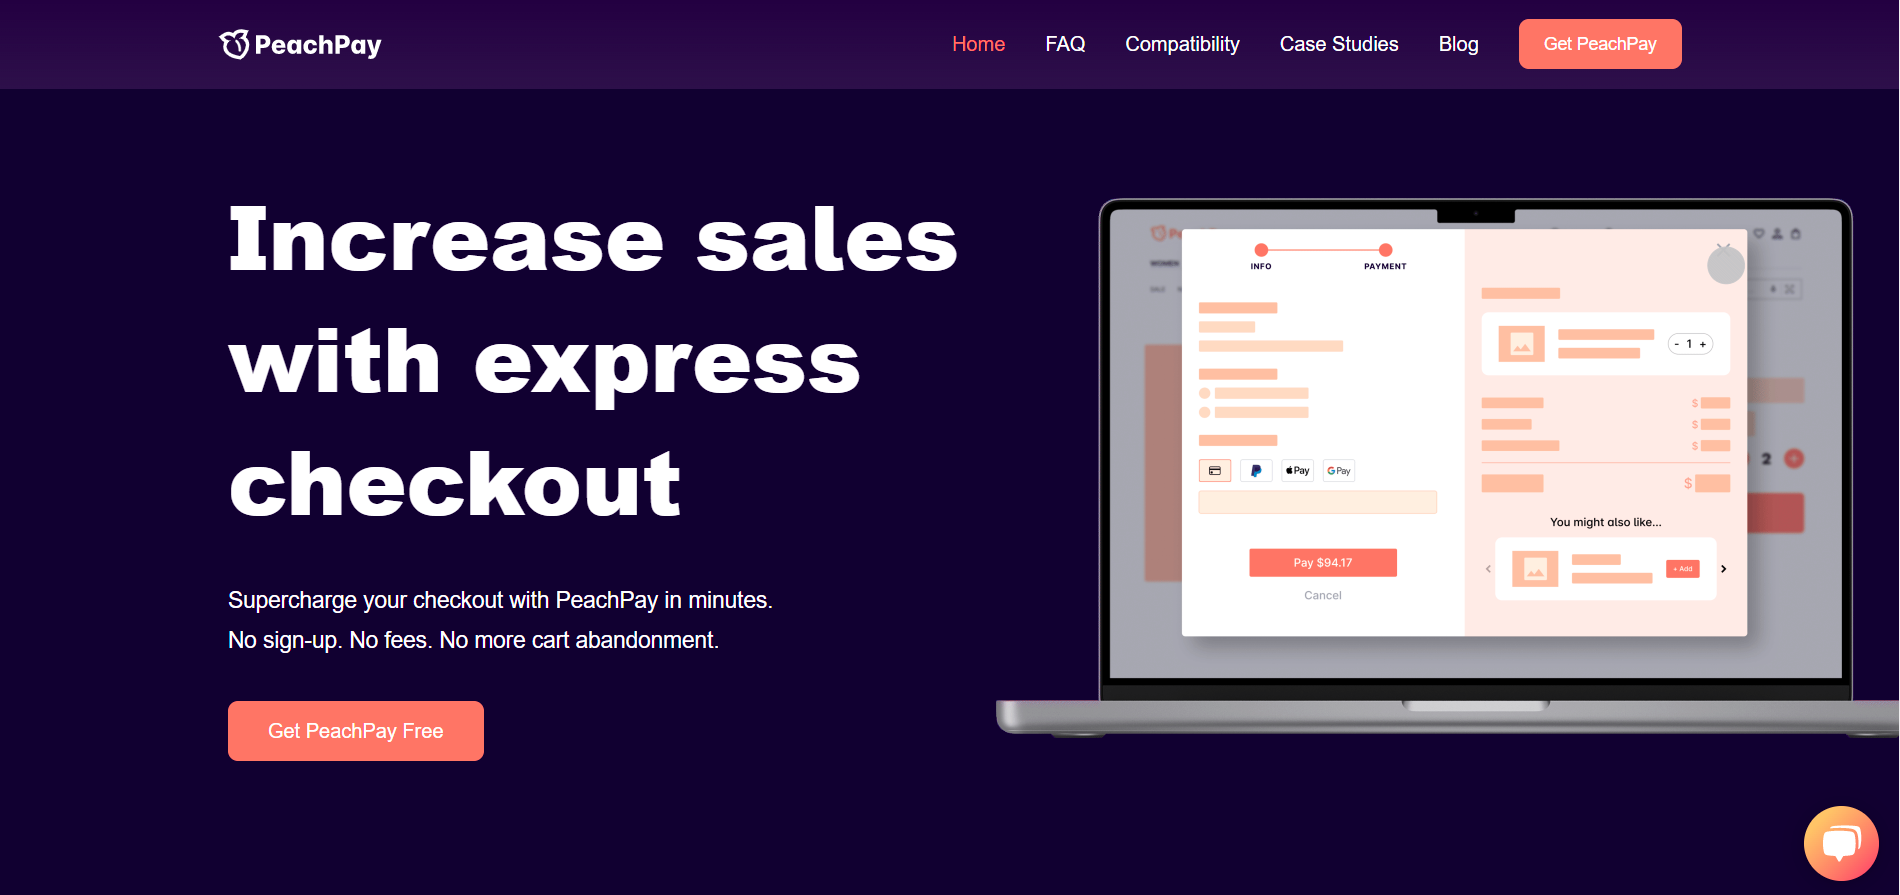
PeachPay is a direct checkout plugin for WooCommerce stores that sets up a sleek and simple checkout window on product pages. Upon clicking the Checkout Button, customers will fill out their personal and shipping information, and review their order. If everything looks good, they’ll proceed to key in their billing details and submit their order - skipping the checkout page entirely.
Returning customers can enjoy one-click checkout, as PeachPay securely stores all customer information. The result is speedier checkouts, more conversions, and lower cart abandonment rates.
PeachPay also packs in powerful features such as:
- A fully customizable checkout experience: Edit your checkout button’s color, width, position, text and so on - on top of that, you’ll be able to completely customize the look of the PeachPay checkout window to match your brand.
- Integrations with popular payment methods: Be it Stripe, PayPal, Apple Pay, or Google Pay, PeachPay makes it easy for customers to pay using their preferred payment method. More payment methods are also constantly being added.
- Product recommendations: Recommend relevant upsells and cross-sells right from your checkout window to boost AOVs. And the best part? PeachPay is 100% free to use!
2. Direct Checkout for WooCommerce
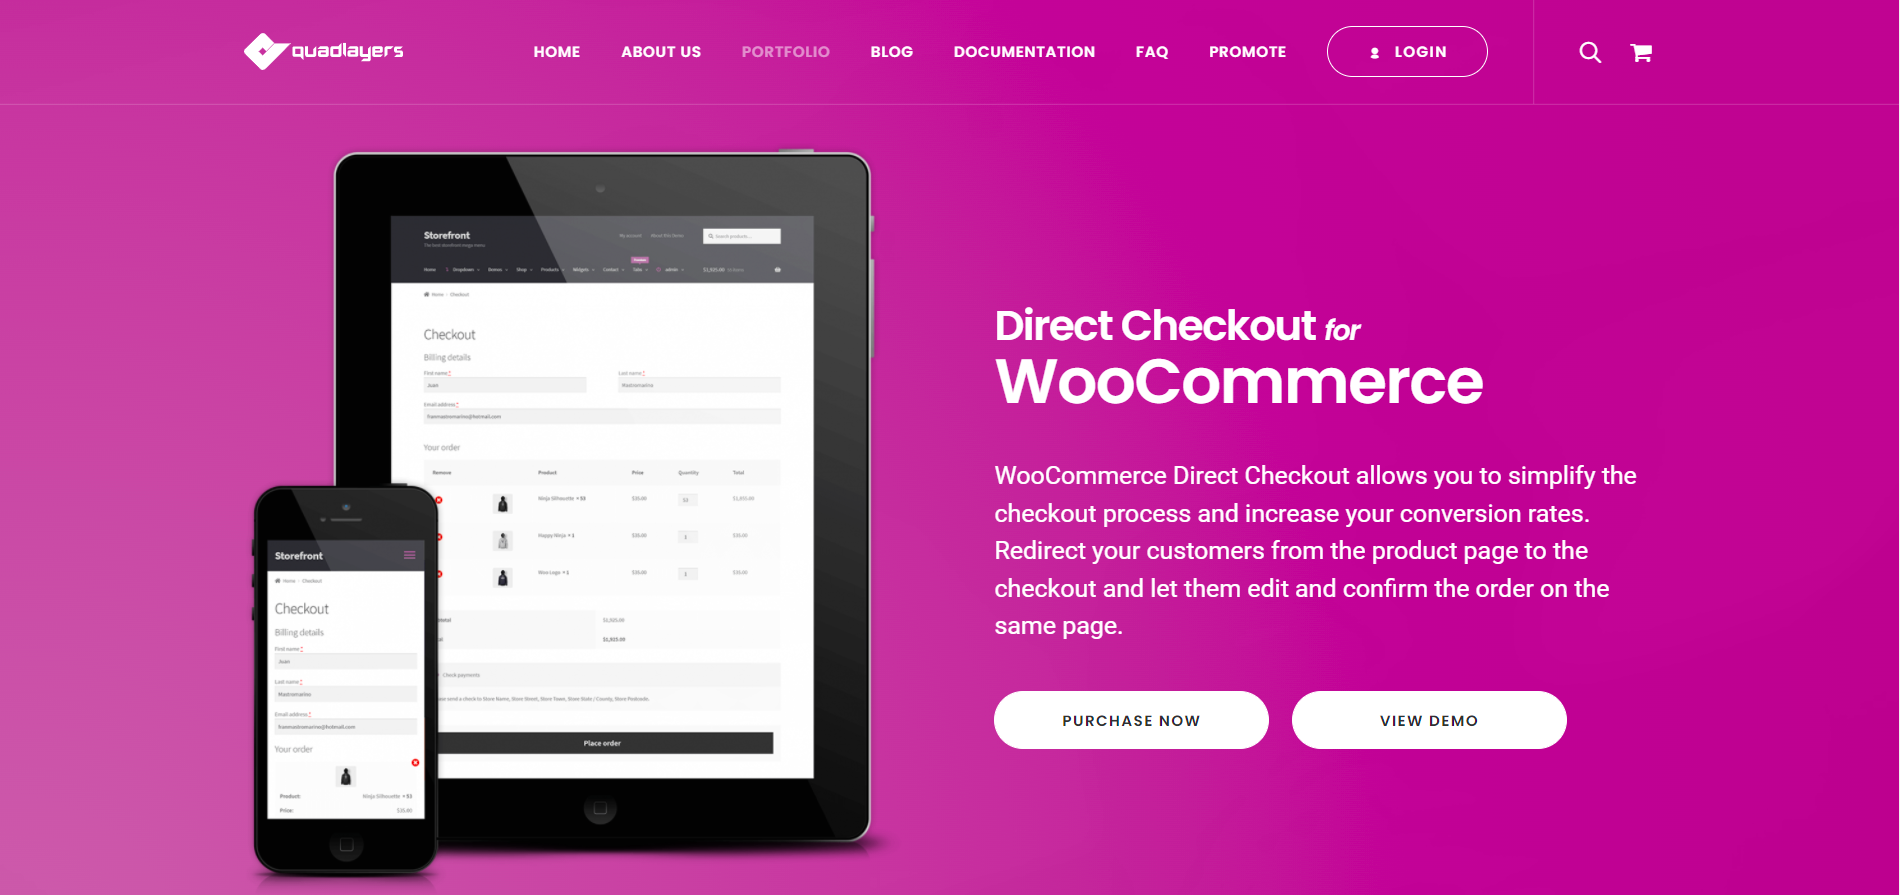
Direct Checkout for WooCommerce aims to simplify the checkout process by redirecting customers to a one-page checkout page. Customers will then fill out their billing and shipping details, review their cart items, and provide their payment information, to submit their order.
At first glance, though, this one-page checkout page can look quite long and off-putting to customers who lack the patience to fill out form field after form field to make payment. (Contrast this with PeachPay’s clean and modern-looking checkout window, and you’ll know what we mean.)
Like PeachPay, Direct Checkout for WooCommerce can also be used for free. However, this free tester’s version is extremely limited and does not include one-click checkout or a quick purchase button. To get access to these features, you’d need to spring for a premium version of the plugin, which costs $30 for a one-site license.
3. CheckoutWC
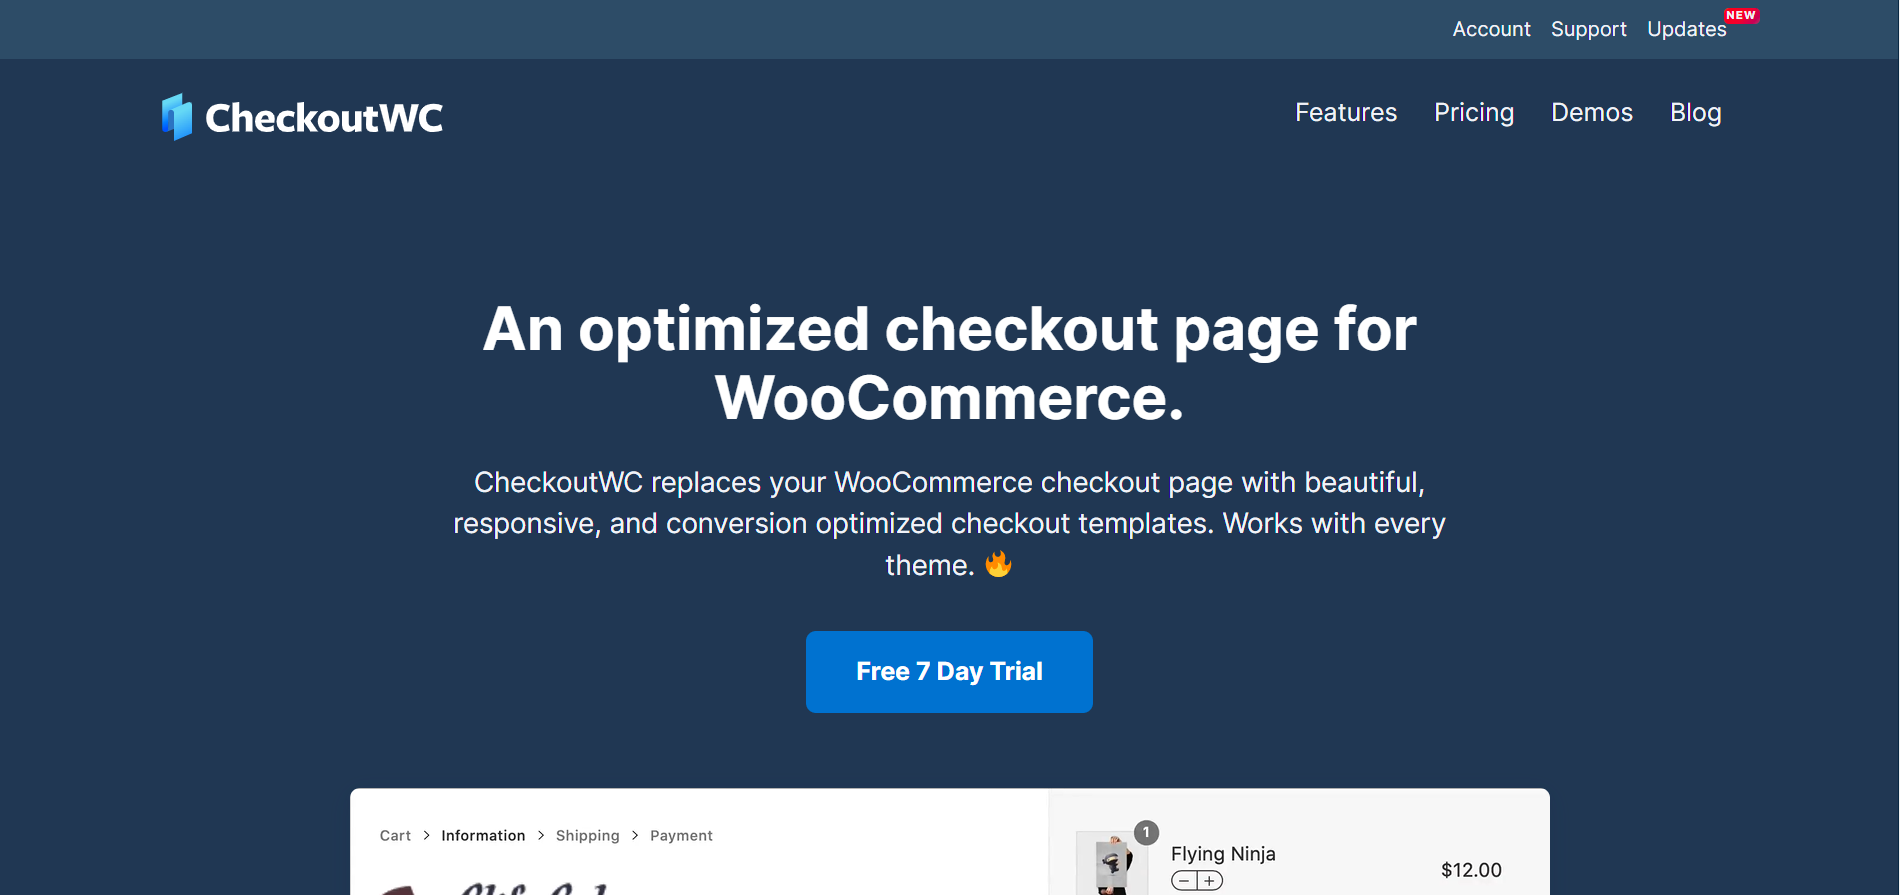
CheckoutWC does a little better than Direct Checkout for WooCommerce in terms of the checkout interface. It sports a cleaner look, though customers will still have to navigate through quite a few checkout pages to complete their purchase. This is unless you’ve set up one-page checkout for customers to use. That said, one-page checkout still isn’t as convenient as one-click checkout, which PeachPay offers (and CheckoutWC doesn’t).
In addition, one-page checkout is a premium CheckoutWC feature. It’s available on the Plus plan or higher, where the Plus plan is an eye-watering $299/year. Even the cheapest Basic plan, which doesn’t include WooCommerce one-page checkout, is $199/year! If finances are limited, then our free PeachPay direct checkout plugin is the much better option. After all, using it won’t cost you a single cent.
4. Aero Checkout
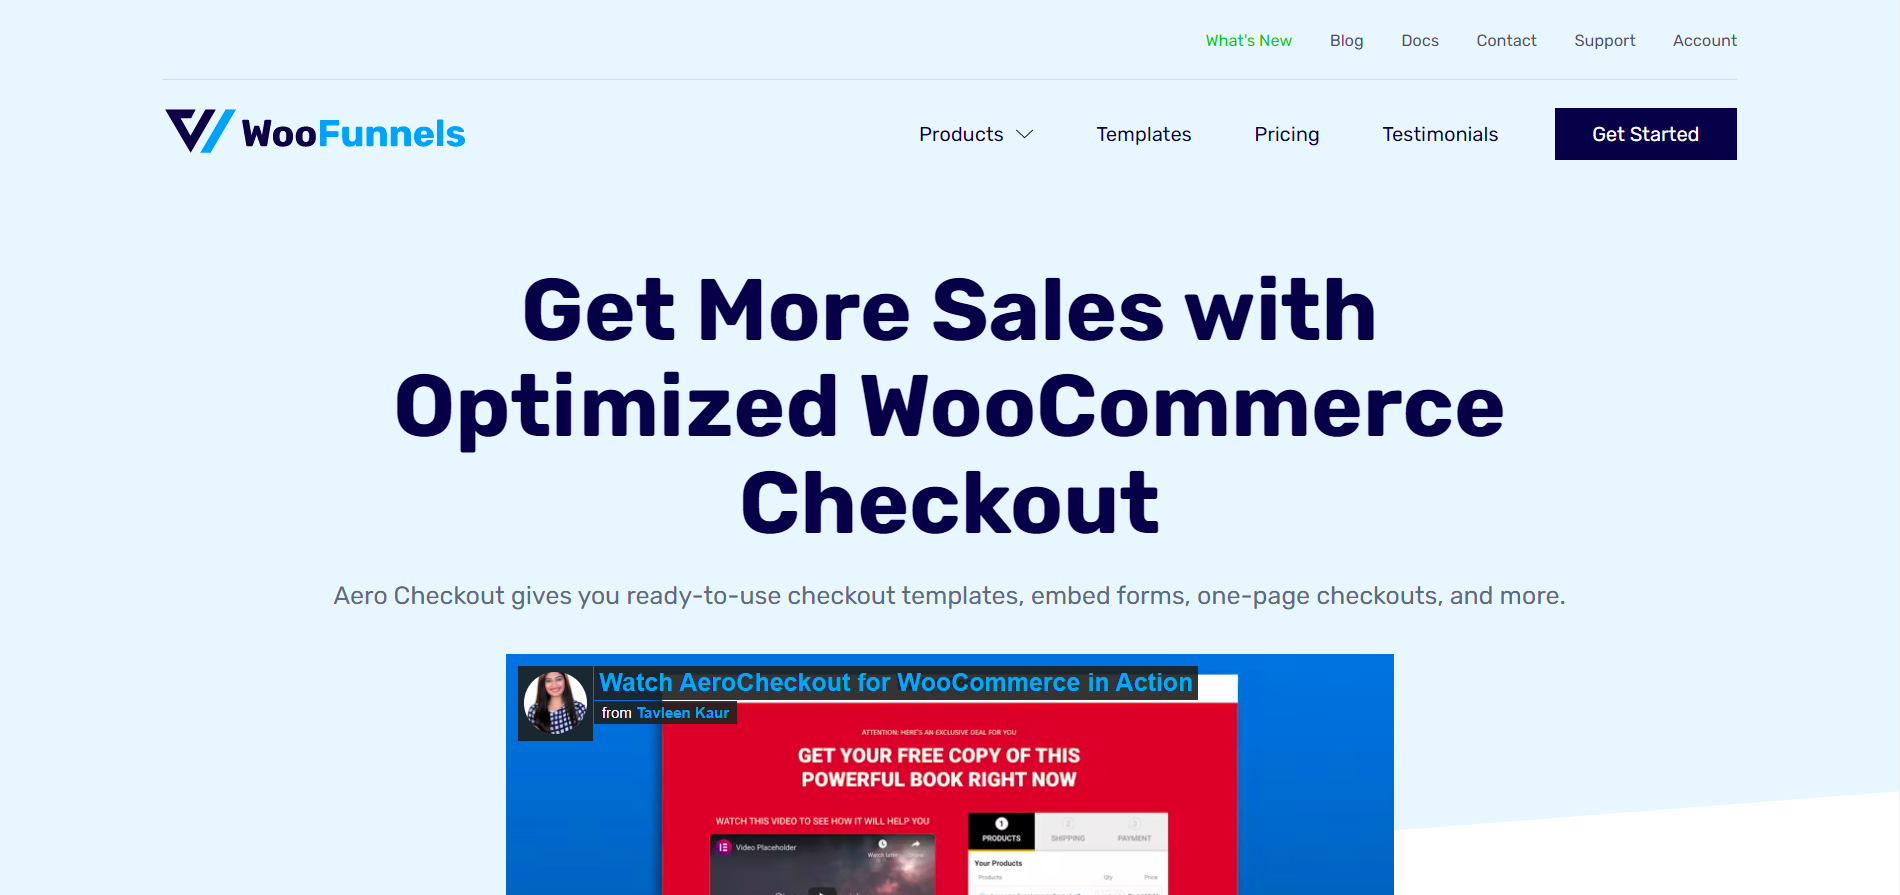
Developed by WooFunnels, Aero Checkout helps merchants create multi-step checkout forms on a single checkout page. As a result, the checkout process becomes less daunting, though Aero Checkout’s forms still can’t beat the look of PeachPay’s beautiful checkout windows.
Aero Checkout doesn’t have a free plan, and costs at least $99/year to use. In addition, if you’re looking to boost AOVs by recommending upsells and cross-sells during checkout, then you’d need to shell out for Aero Checkout’s more expensive $129/year plan. Be aware, though, that one-click checkouts aren’t available even at this price point - unlike how PeachPay throws in this feature for free.
5. Cashier
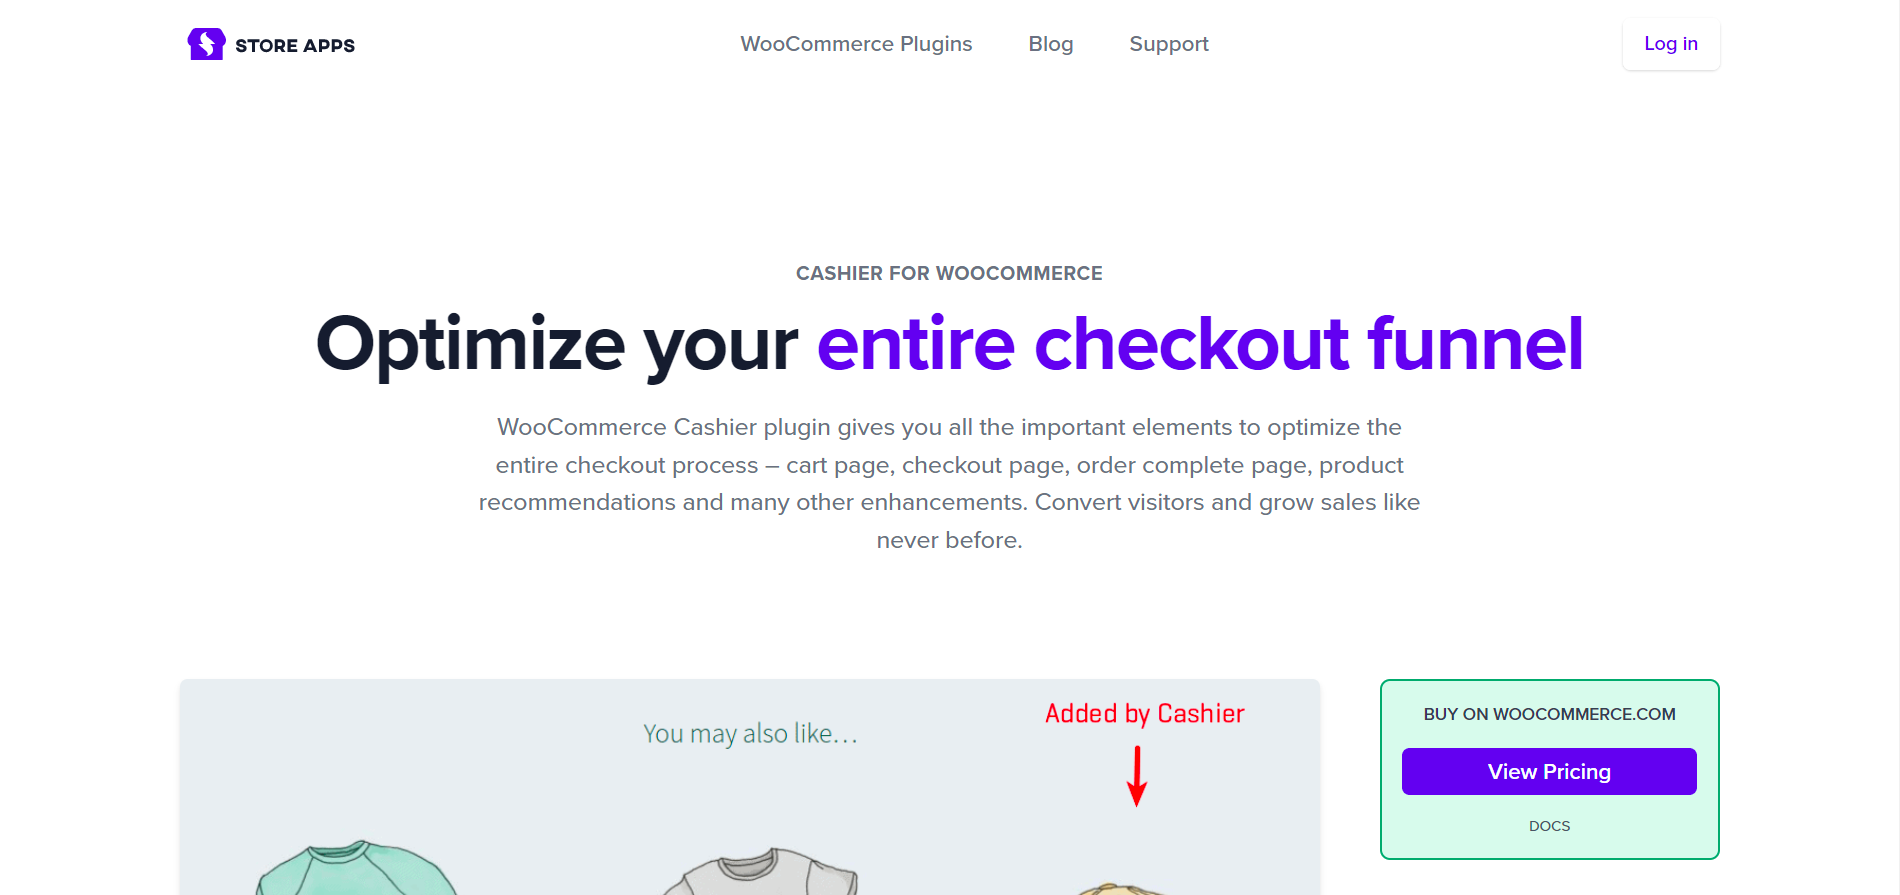
Cashier by WooCommerce extension developer StoreApps adds options for merchants to display customers’ shopping carts in a sidebar, and enable one-click checkout for return customers. It also includes a product recommendations feature for suggesting specific products based on previous customers’ purchase histories.
At this time, however, this paid WordPress plugin does not offer one-page checkout. In addition, there is no way to customize the form fields on the checkout page. This may not be ideal if you don’t need to obtain certain order information, and want to shorten your checkout form for quicker checkout.
On the other hand, you have greater control over the form fields in PeachPay’s checkout windows. Add in more checkout fields for processing certain orders, or remove fields you no longer need - the choice is yours.
How to add direct checkout to your website
From the above discussion, it’s clear that PeachPay is the superior WooCommerce direct checkout plugin. So here’s how to add it to your website, step by step:
1. Find and install the PeachPay plugin
Go to the “Add Plugins” page of the WordPress dashboard. Do a search for the plugin called “PeachPay for WooCommerce | One-Click Checkout”, then click the “Install Now” button.
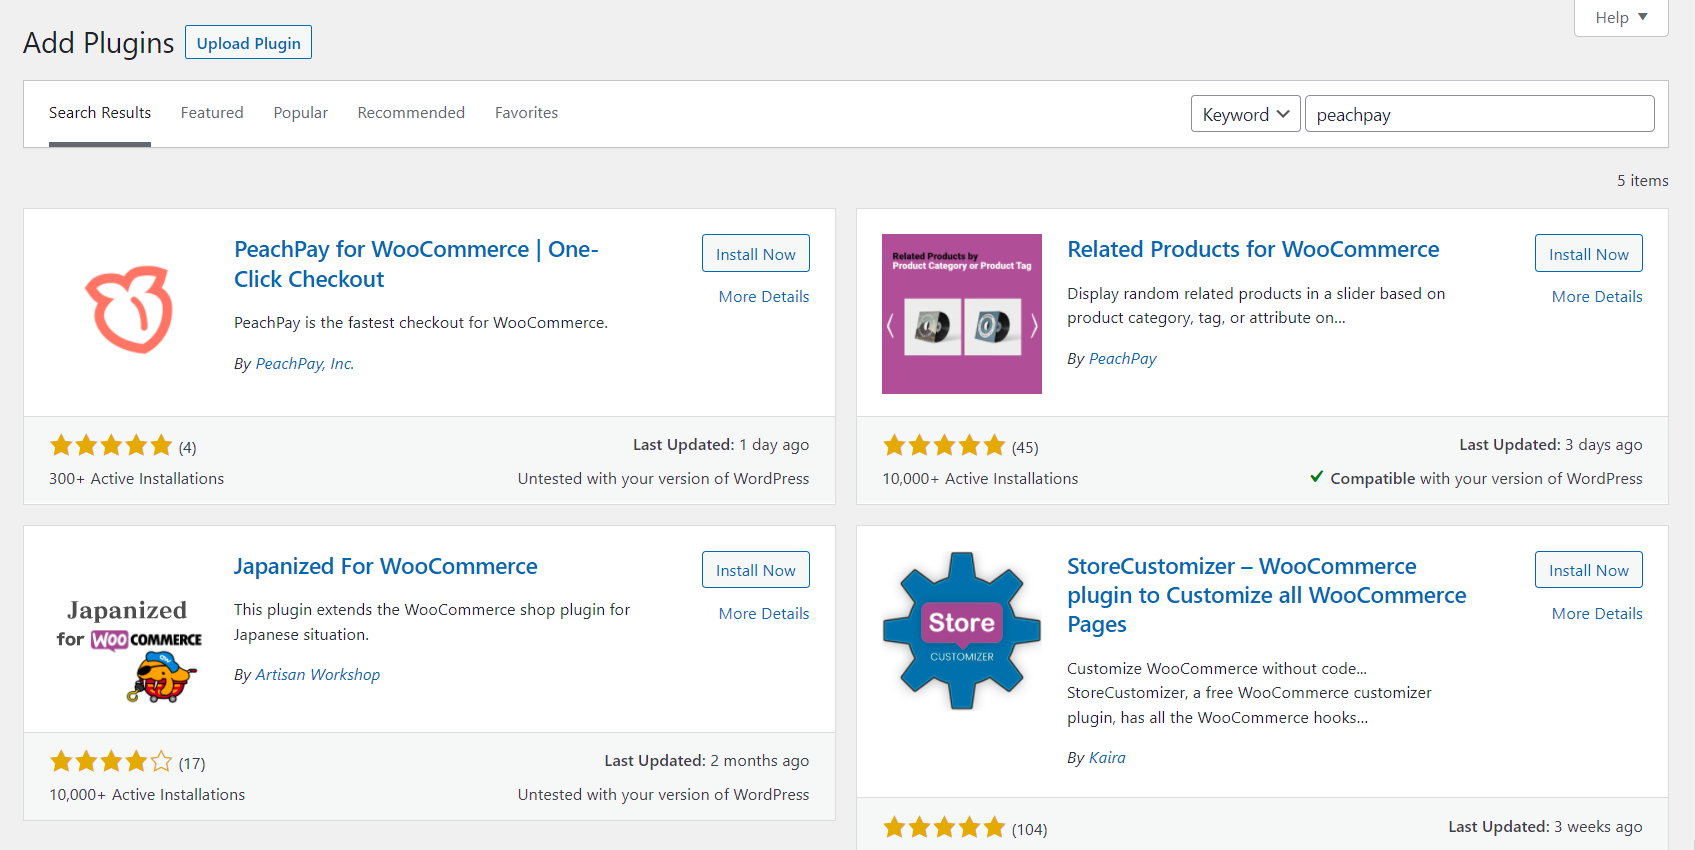
Alternatively, head over to this link and fill out the URL of your WooCommerce store. We’ll redirect you to a page where you can instantly install PeachPay.
Once you’ve installed PeachPay, activate the plugin.
2. Connect PeachPay to your WooCommerce store
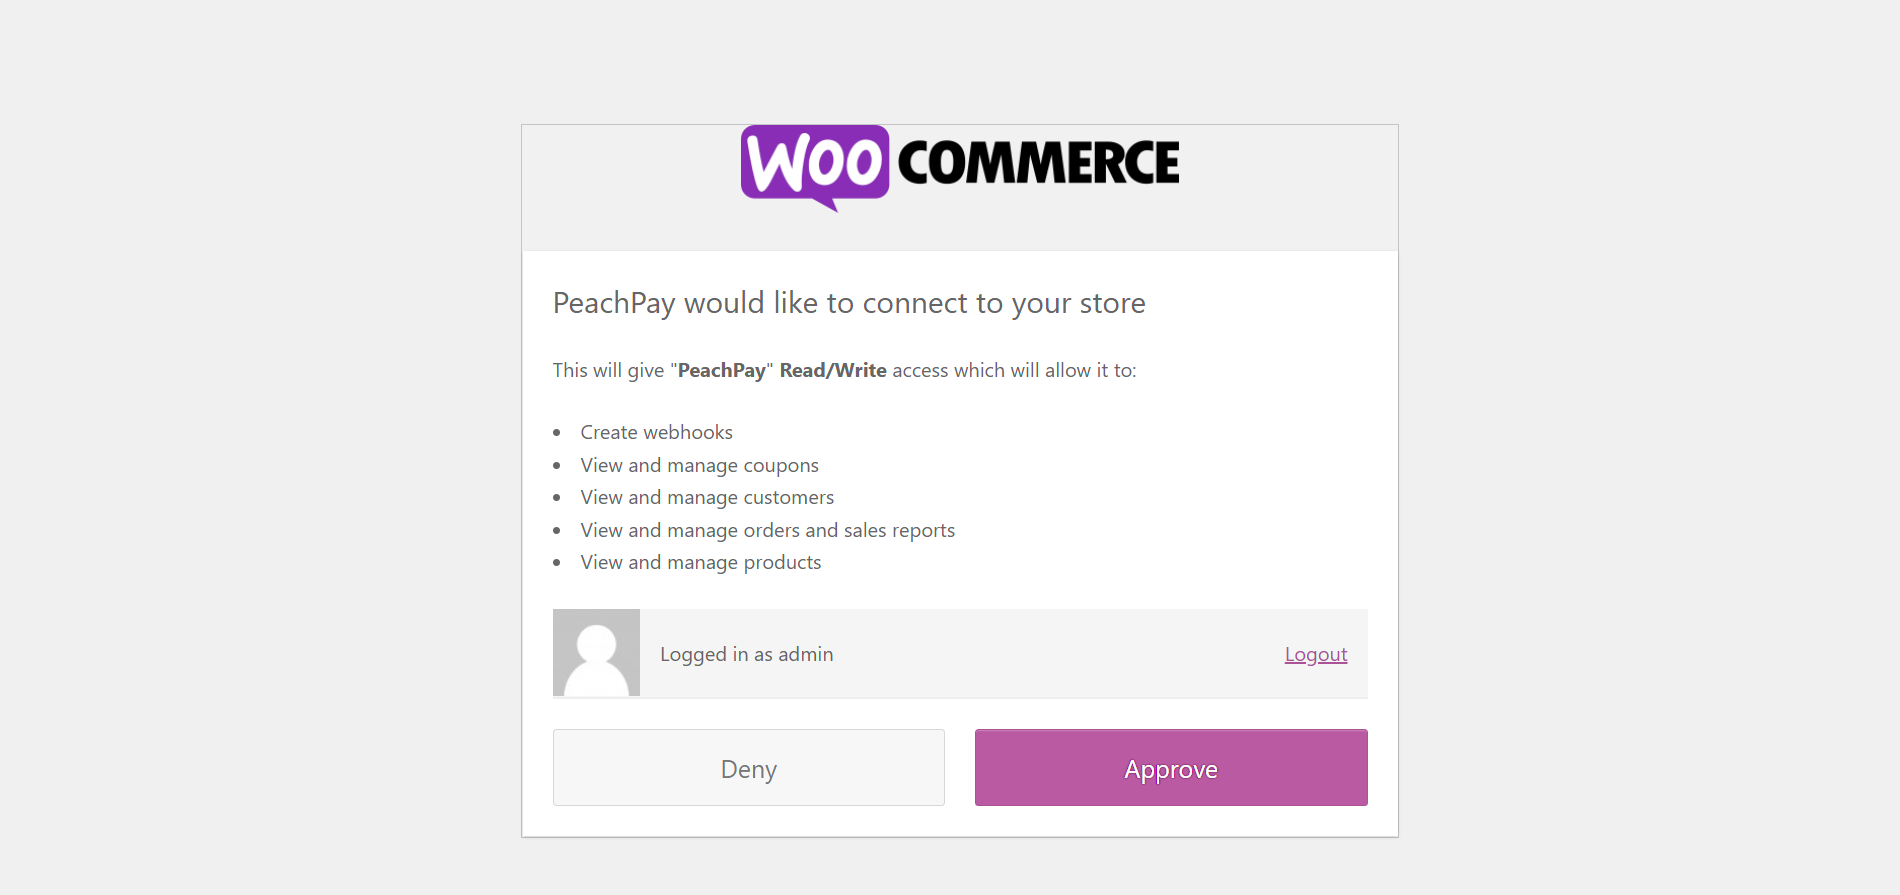
You’ll be directed to a screen asking for permission to connect to your WooCommerce store. Click “Approve” to grant such permission.
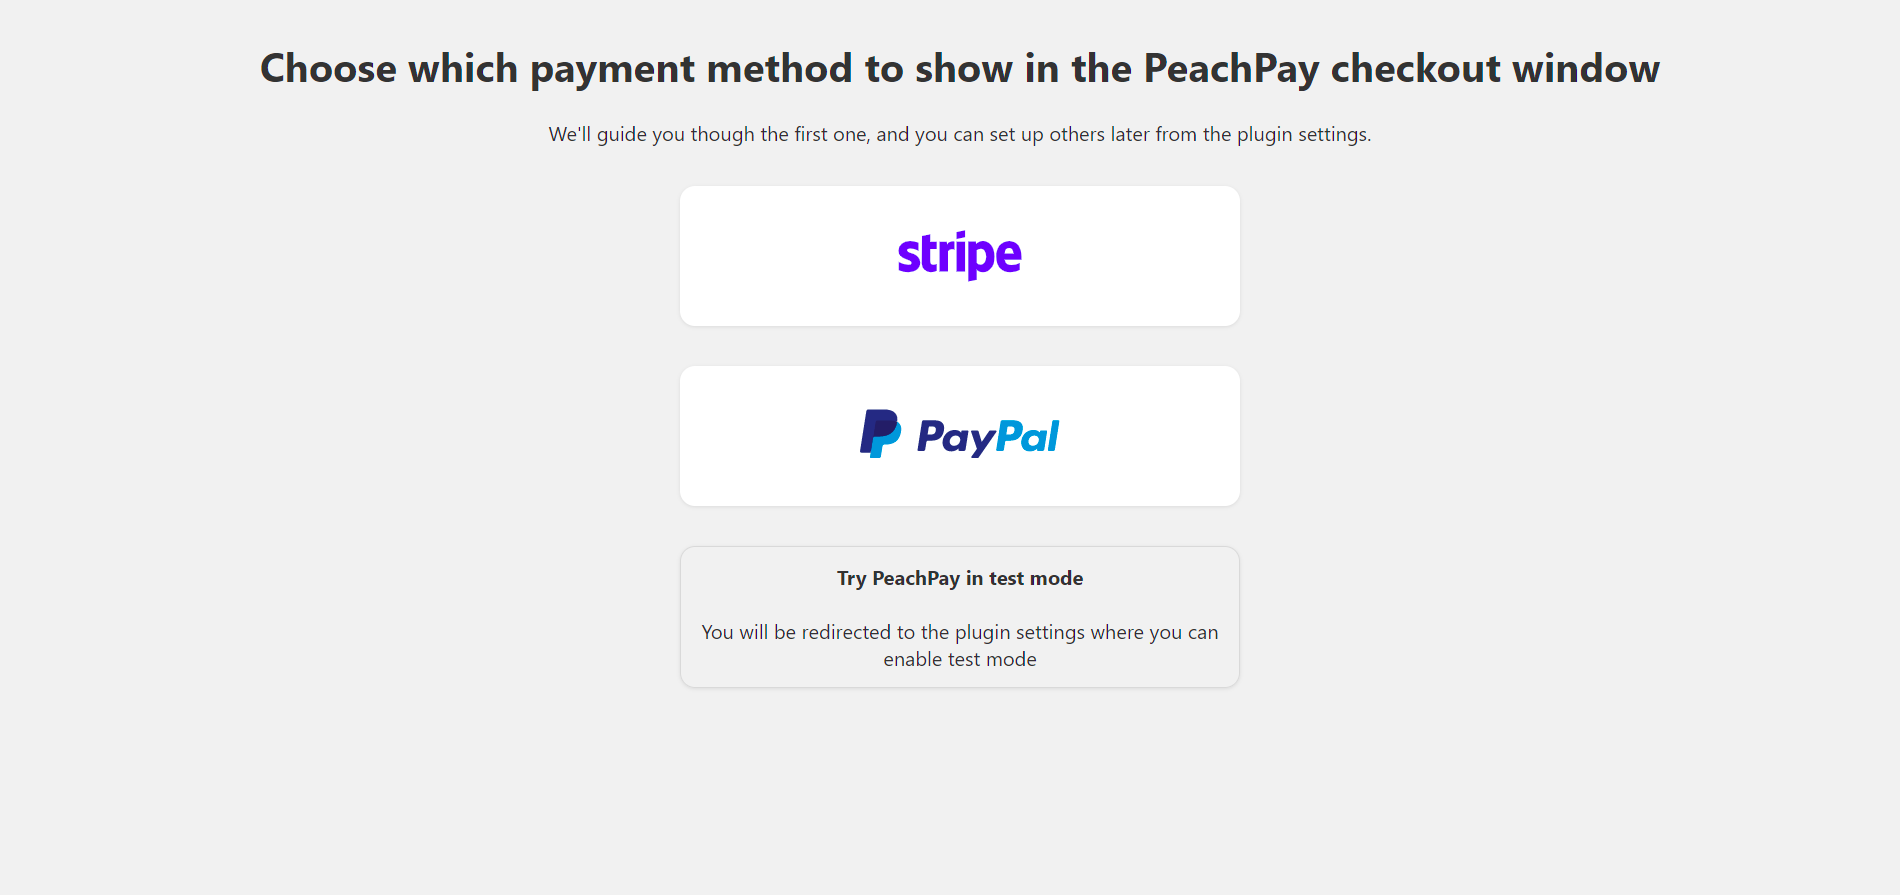
After that, choose a payment method to display in the PeachPay checkout window. If you aren’t ready to integrate your payment methods yet, you can proceed in test mode.
3. Configure your PeachPay checkout window
With these basic settings out of the way, you’re all set to configure your PeachPay checkout window. For example, you can:
- Use the “Button preferences” tab to customize the look of your checkout button, and its position on your product, cart, and checkout pages.
- Use the “Payment methods” tab to add more supported payment methods.
- Use the “Field editor” tab to access the checkout field editor and add extra form fields to your checkout window.
- Use the “Related products” tab to enable or disable product recommendations, and specify how many related products you want to display.
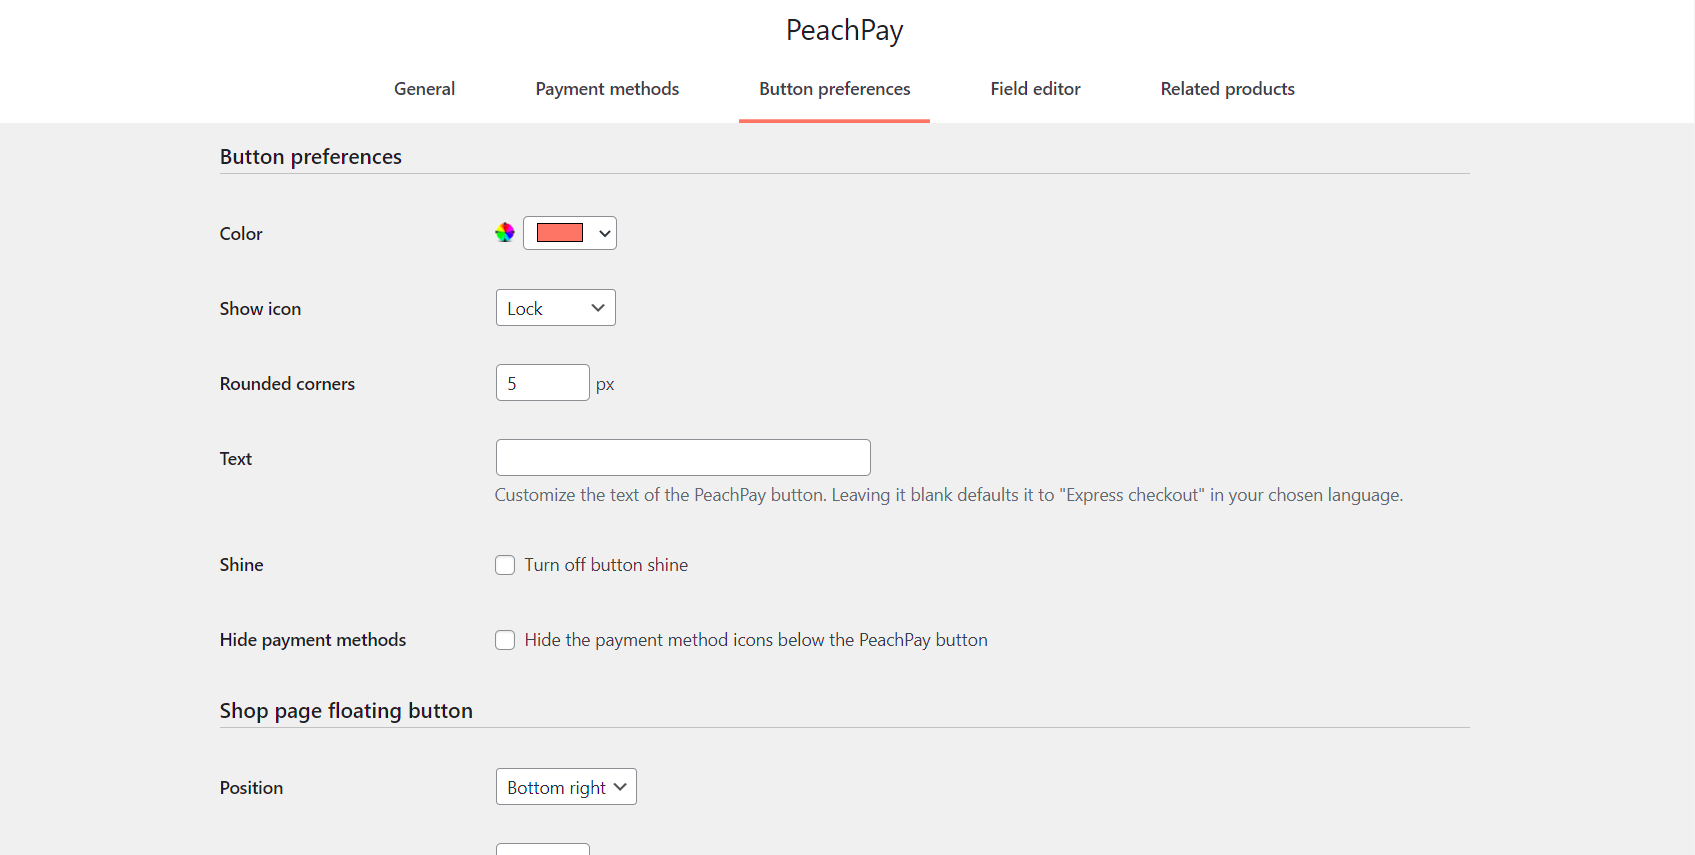
4. Embed your PeachPay checkout button
To add the PeachPay checkout button to your store pages, use this WordPress shortcode:
[peachpay product_id=123]
Replace “123” with the product ID of the WooCommerce product that should show up when users click the PeachPay checkout button. You can find your product IDs by going to “All Products” from the Products page in the WordPress sidebar, and hovering your mouse over individual products.
After embedding your PeachPay checkout button in your shop pages, save your changes and visit the live version of these pages.
Click the checkout button to preview your checkout window, then make further tweaks until you’re completely happy with your checkout flow. It might be a good idea to carry out a test purchase too!
Enhance the checkout experience with the PeachPay WooCommerce direct checkout plugin
If something is easy to buy, it will sell frequently. Customers who find a merchant’s checkout process effortless may also be incentivized to shop with that merchant more often. All these result in more orders, higher revenue, and a healthier bottom line for merchants who recognize the value that an efficient checkout process can bring to their store.
While WooCommerce store owners have many direct checkout plugins to choose from, most of these plugins can’t hold a candle to PeachPay. It provides an eye-catching checkout button that can be embedded practically anywhere, a beautiful checkout window for an enjoyable checkout experience, and one-click checkout for happy customers to make repeat purchases again…and again!
Apart from that, PeachPay also includes integration with popular payment methods, product recommendations to maximize AOV, and secure safekeeping of customer information. All these great features are available for use for free, making PeachPay the superior direct checkout option for merchants who want to increase sales and reduce cart abandonment. If that’s you, then click here to add PeachPay to your WooCommerce store today.