How to Add Order Notes at Checkout in WooCommerce
David Mainayar on | 9 min read
Why add WooCommerce order notes at checkout, and what use cases are there to justify the effort and cost of order notes? Also, how can you add order notes in WooCommerce? We break it down for you.
What are WooCommerce order notes, and why should you add them?
Shoppers prefer buying in-store than online, reports a Business News Daily article, citing a recent survey by PricewaterhouseCoopers. The survey found that 40% of consumers make purchases in a physical store once a week compared to 27% who do the same online. While consumers' behaviors are motivated by myriad factors, the bottom line remains that they seek 'retail experiences' over purchase transactions.
It isn't possible to replicate the in-store experience online. But it is possible to create a human shopping experience at various touchpoints to engage customers beyond the transaction. This is where order notes come in.
WooCommerce order notes allow buyers to leave instructions about their orders during checkout. They infuse digital communication with a human touch, serving as a simple yet effective solution to create a more engaging shopping experience at your online store.
Use cases for WooCommerce order notes
People walking into a physical store can tell the shopping assistant what they're looking for, request their order to be gift wrapped or multiple orders consolidated into one package, and ask them when they can expect to receive their package. It's difficult to mimic the same experience online, requiring eCommerce store owners to think of simple, affordable, and effective ways to deliver personalized interactions. WooCommerce order notes are a piece of the puzzle, and useful in multiple scenarios, as explained below.
-
If you’re selling products or services that can be customized, customers can leave a note about their preferences or requirements.
-
If you’re a restaurant accepting online orders, customers can specify their dietary requirements or reiterate the vegan version or substitute they've ordered.
-
If you’re shipping the order, customers can provide additional information about the address, such as the landmark, or specify a 'do not disturb' or 'safe' delivery.
Are you a restaurant accepting online food orders?
Let's look at the restaurant use case in some detail in respect of food allergies. 85 million Americans are impacted by food allergies, and even if one family member receives a diagnosis, the entire family forgoes eating at restaurants, which are the second most common location for food allergy reactions. On the bright side, fewer reactions take place when customers inform restaurant staff about their allergies and when menus contain allergen statements.
Undoubtedly, the concerns are magnified when considering the prospect of ordering food online. Restaurants that accept online orders are providing reassurances with nutritional and allergy information on their digital menus, and allergy-friendly filters on their sites and apps. Including an order note is yet another way to ease customers' anxiety - you can explicitly state that customers can mention their special dietary requirements in the order note or add your restaurant's phone number that they can call to get more information.
Do you sell personalized products?
Deloitte research found that, in some categories, over 50% of consumers expressed interest in purchasing customized products or services. If you accept requests for personalization or offer custom-made products exclusively, you can use WooCommerce order notes to allow customers to share additional order details. The information they provide can help you get a better understanding of their needs and deliver the product or service they want. And it can make a difference to your bottom line. Here's why.
66% of customers expect companies to understand their needs and expectations. Effective eCommerce customer service revolves around understanding customers' needs before, during and after online sales. By weaving WooCommerce order notes into the online shopping path, you'll be indicating to customers that you care about getting their order right. Customer-centricity has been seen to pay off in a big way - customer-centric companies are 60% more profitable than companies that aren't.
Ship orders? Boost last-mile delivery success rate and adapt to the new normal.
COVID-19 changed the way we shop, and the shopping behaviors acquired in the last two years continue. For example, surveys suggest that contactless deliveries are here to stay. Many eCommerce stores include the option for no-contact delivery at checkout. If your order form hasn't accommodated this option, WooCommerce order notes are a potential solution. Your customers can request a no-contact delivery or a 'Do not Disturb' delivery à la Amazon, asking their order to be delivered at their doorstep or apartment mailroom or to their security guard.
The order notes section also comes in handy to make the destination address clear, such as by adding a landmark or mentioning that the particular place is missing on Google Maps. It can resolve, to some extent, the issue of incomplete or inaccurate addresses plaguing last-mile deliveries.
How to enable order notes at checkout in WooCommerce?
By default, WooCommerce offers many features, but some of these may be too generic for a proper customization of your store. This is also the case for order notes- if you want to add them to your WooCommerce store, you have two options:
-
Use code
-
Use a plugin
Adding code to a WordPress site to enable a functionality or feature requires some technical understanding. You have to find the right PHP file, create a folder and add a code snippet after 'x' lines of code. You need to make sure that you're not making changes to default WooCommerce files as the changes you make can be lost every time WooCommerce is upgraded to a new version. So, while you don't have to code extensively to add order notes, you should be clear about what you need to do to avoid introducing issues unknowingly.
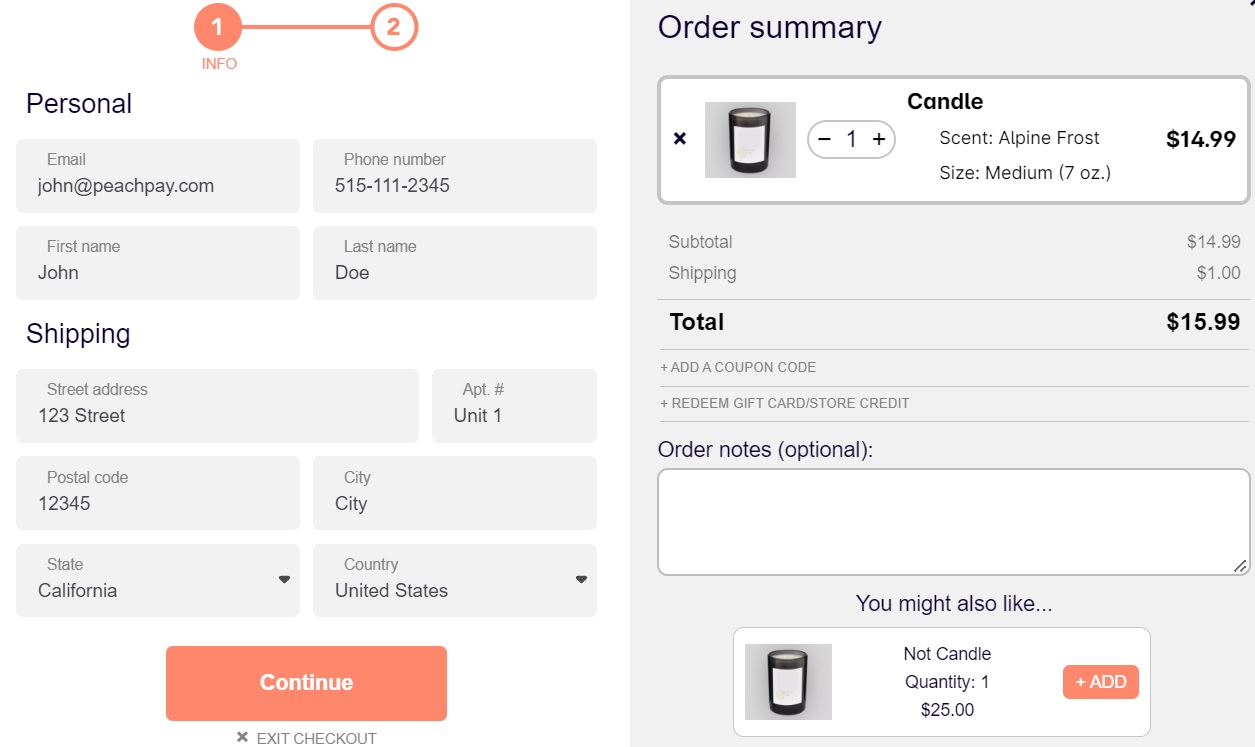
The safer alternative is to simply use a WooCommerce plugin that adds order notes to your store. There are many that let you display checkout notes, but think about whether you can add more features in addition to customer notes to fully optimize your checkout process. You could use PeachPay to optimize eCommerce checkout with a focus on boosting conversions. It displays all the information required at checkout, such as the customer's personal details, shipping address, order summary, price breakdown, and a notes section.
PeachPay is a free plugin that takes minutes to set up. Look at the installation process and customization options below.
Step-by-Step tutorial to installing PeachPay
There are two methods to install the plugin and add WooCommerce order notes. You can use the guided installation - navigate to https://get.peachpay.app/ and follow the instructions you see on screen. Or you can install PeachPay from your WordPress dashboard, as explained below.
Step 1
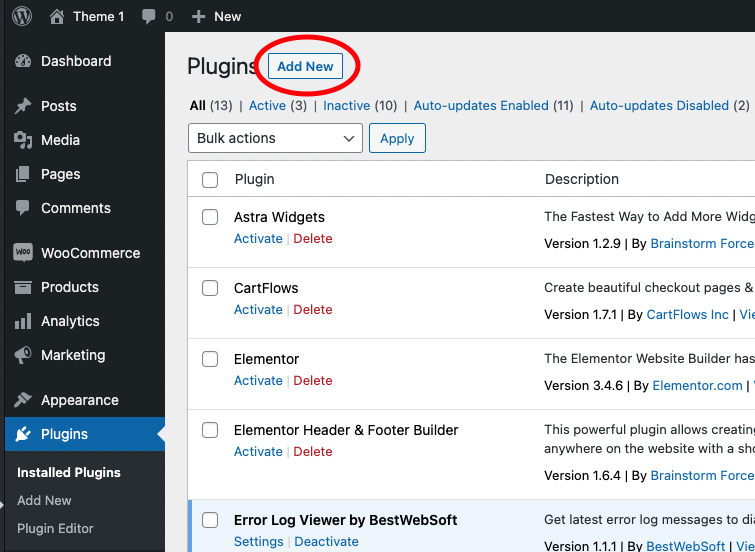
Log in to your WordPress admin account and go to the Plugins tab.
Step 2
After you are in the Plugins tab, click "Add New".
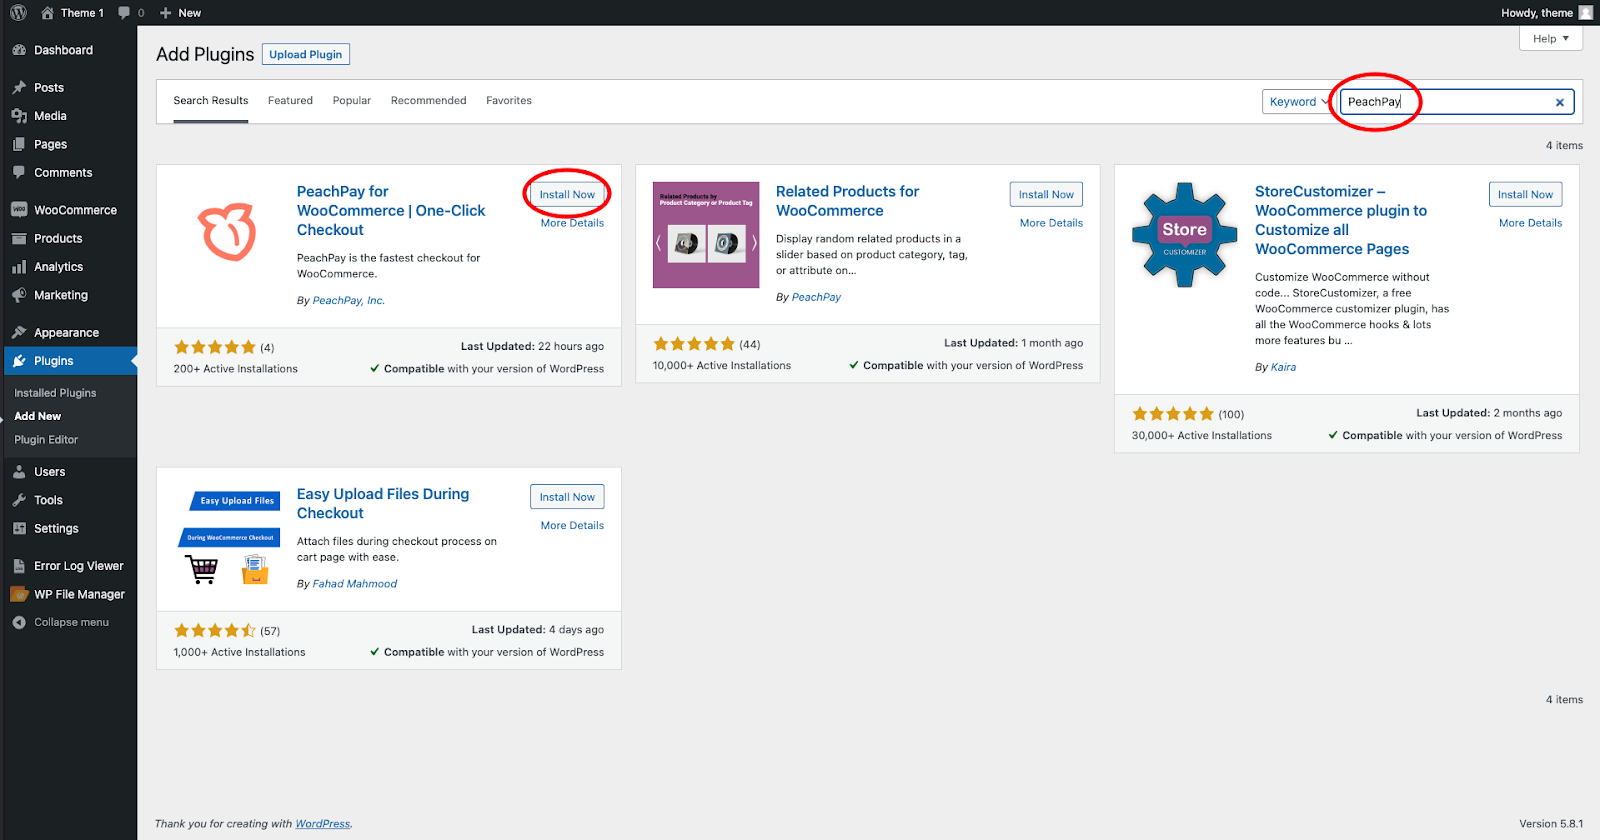
Step 3
Search for "PeachPay" and click "Install Now".
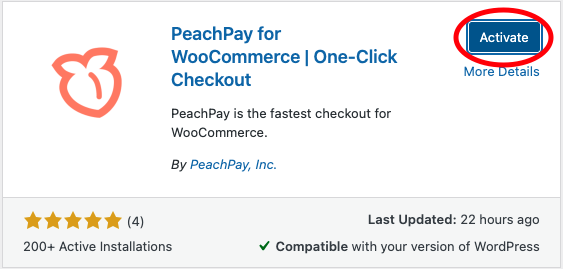
Step 4
Click "Activate".
Step 5
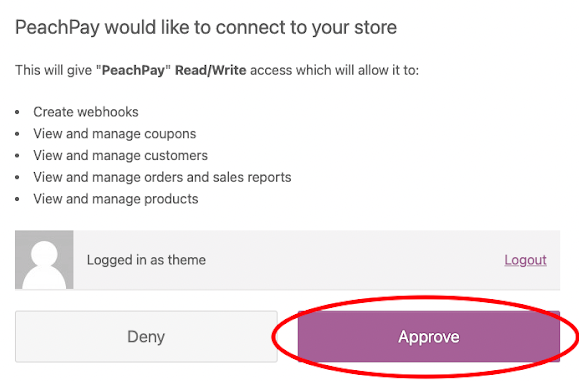
After activating PeachPay, you will be redirected to the permissions page. Click "Approve".
Step 6
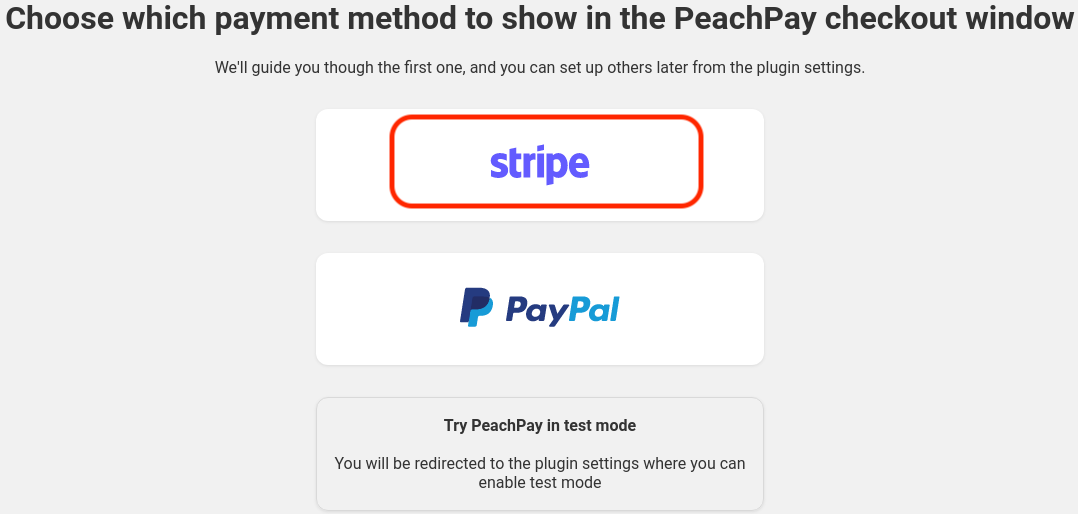
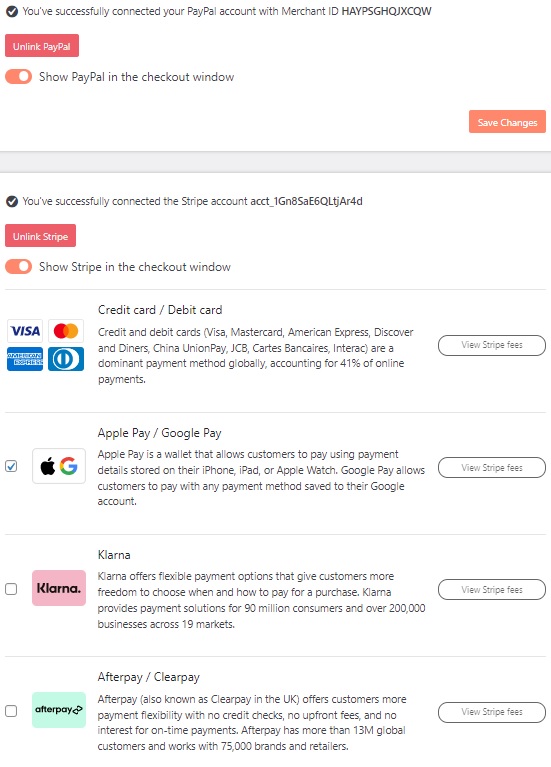
You will be redirected to the payment methods window, where you can connect your Stripe/PayPal account or try PeachPay in test mode. PeachPay also integrates with Google Pay, Apple Pay, Afterpay, Klarna, and Affirm.
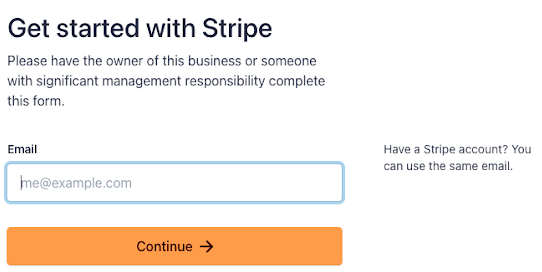
Click "Stripe" to add it as a payment method.
You'll be redirected to the Stripe Connect page, where you can log in with an existing account or create a new one.
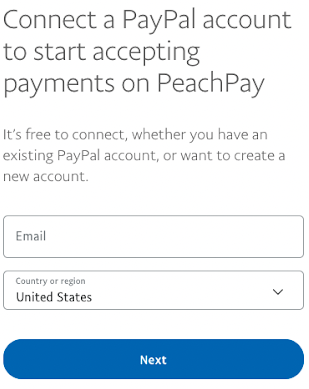
Click "PayPal" to add it as a payment method.

You'll be redirected to the PayPal page, where you can log in with an existing account or create a new one.
Step 7
After you successfully connect your Stripe/PayPal account, you'll be redirected to the PeachPay plugin settings. In the "Payment methods" section, you can confirm that all the payment methods you added are now available at checkout.
General settings
Language
Choose the language you wish to display in the PeachPay button, window, and plugin settings. PeachPay currently supports 22 languages. There is also an option to automatically detect the language of the page in question.

Support message
You can display a support message within the PeachPay checkout window.

Order notes
Enable order notes to allow customers to leave instructions about the order during checkout.

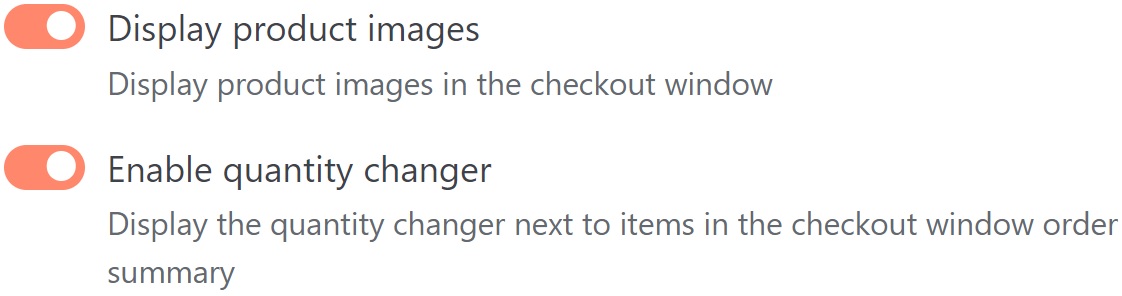
Order summary
You can choose whether product images should show up in the PeachPay checkout window. You can similarly enable or disable the quantity changer in the checkout window.
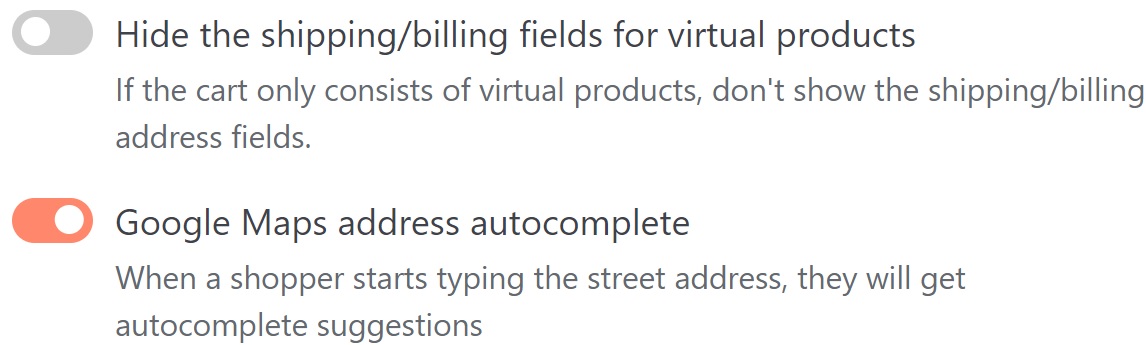
Checkout fields
Sell a virtual product like concert tickets or subscriptions? You can remove the shipping/billing fields from the checkout window. Auto-filling address forms saves customers time and effort. PeachPay offers the autocomplete feature for faster checkouts. You can enable or disable it as needed.
Test mode
In test mode, only those logged in with a WordPress admin account can see the PeachPay button. Customers will not see it.
Stripe test mode allows you to make test purchases with PeachPay, without spending real money. You can make purchases using the 4242 4242 4242 4242 test card with any expiration/CVV.
This helps you see how the PeachPay checkout experience works and how it shows up in your order feed. Neither do you need to connect a Stripe account to use test mode, nor an activation key. For that reason, the test purchase does not show up in your Stripe dashboard.
When the PeachPay plugin is in test mode, you can also try a PayPal purchase by choosing Pay with debit or credit card when the PayPal window opens, filling out the information, and clicking "Continue as Guest".
You can use a test credit card 4556 5196 6069 6666 with any expiration/CVV code. If that card doesn't work, any other card from getcreditcardnumbers.com will work for test mode purchases.
After the test PayPal purchase is complete, you will see the order in the WooCommerce order feed. It will be marked as PayPal and will have the PayPal transaction ID.

Product recommendations
PeachPay integrates with native WooCommerce upsells or cross-sells. You can choose whether upsell or cross-sell items configured with native WooCommerce settings show up in the PeachPay checkout window.
You have the option to create a unique statement asking shoppers to add related products to their cart, select the number of products to display, exclude taxonomy IDs, and more
Button preferences
The checkout button needs to be prominent and grab attention. It should complement the existing color scheme of your site. The good news is that you can customize the PeachPay button to make it fit nicely with the rest of your site. You can edit your button color, width, alignment, and the whole layout design of your checkout window.
Color
Choose from the presets or enter your own color with RGB/HSL/HEX codes. You can change both the background and text color.
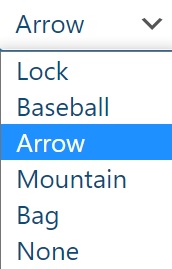
Show icon
Choose from the preset logos.
Rounded corners
Choose how rounded the corners of the button should be.
Text
Customize the text of the PeachPay button. Leaving it blank defaults to "Express checkout" in your chosen language.

Effect
Choose whether you want a fade animation for the PeachPay button
Font style
You can make the PeachPay button font style match the theme font.
Hide payment methods
Choose whether payment method icons should appear below the PeachPay button.
Position
You can adjust the location of the button on the product page and cart pages separately.
The available choices are Left, Right, Center, and Full. This helps you make the button fit well with your theme.
Width
You can also adjust the width of the PeachPay button for the product page and the cart pages separately. Note: if you set the position to Full, the corresponding width field will be disabled since this option makes the button take up the full width of its container.
Preview
You can see the live preview of your chosen button preferences separately for product, cart, and checkout pages.

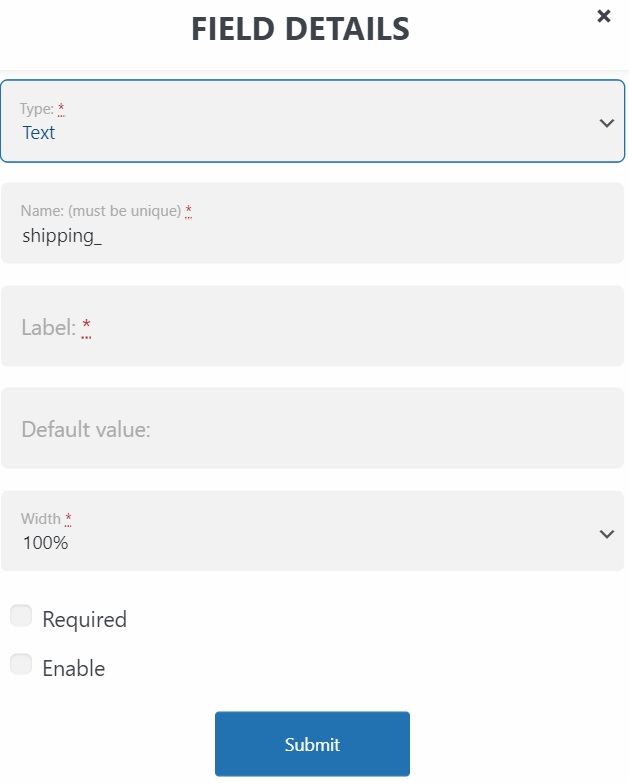
Field editor
The field editor lets you display additional fields in the PeachPay checkout window. You choose the field type, name, label, default value (if any), and whether it is required or not.
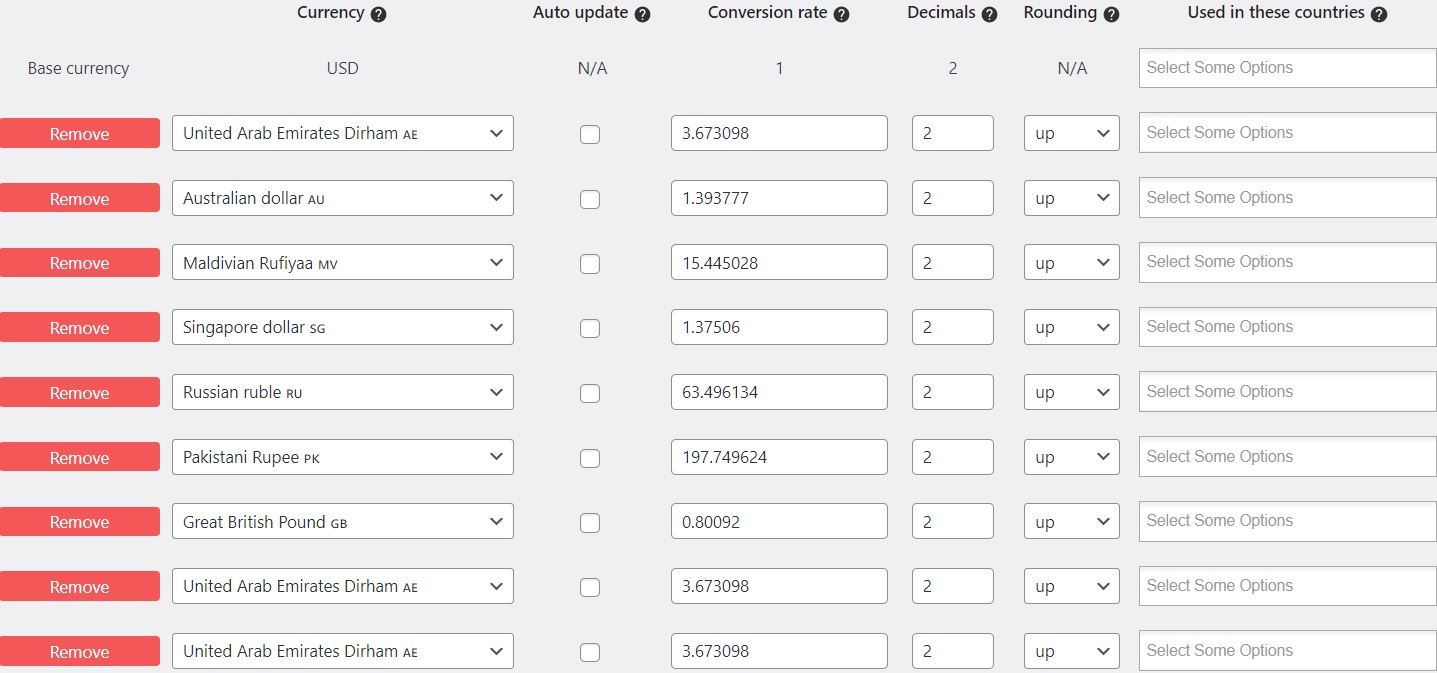
Multicurrency
You can configure a multi-currency dropdown that lets customers choose between different currencies when paying.
Subscriptions
PeachPay is currently compatible with WooCommerce Subscriptions as well as the popular add-on.
Reports
PeachPay's reporting functionality is useful in informing your marketing, customer retention, and shop management strategies. The reports you can access are cart abandonment report, payment method report (usage split, chargeback rate, fraud detection rate, and others), and customer report (most purchases/loyalty, highest spenders, and others).
Email automation
Automated emails generate 320% more revenue than non-automated emails. Set up email automation with PeachPay - send emails with discount codes to customers as well as those who have abandoned their carts. Reward customers, boost retention, and increase customer lifetime value.
Optimize checkouts with PeachPay
A great eCommerce user experience is a sum of many factors. Some, like taxes and fees, are not within your control, but most are manageable. They include the checkout process, which has been seen to affect cart abandonment rates.
A checkout process that's too long or complicated is a factor for cart abandonment. Ensuring a simple checkout flow and minimal effort to complete a purchase is paramount given how 50% of customers are likely to abandon their shopping carts if the checkout takes longer than 30 seconds.
PeachPay makes checkouts fast and frictionless. One-click checkout gives shoppers the easiest way to make a purchase. Customers' payment details are stored so they won’t have to add this information every single time. The checkout window contains all the information customers need to go ahead with their purchases. This includes the order notes field in which customers can specify any additional information about the order, such as a customization request, dietary requirement or delivery instructions.
Why stop at adding WooCommerce order notes and improving one aspect of the customer experience when you can overhaul your entire checkout process and surpass customers' expectations with PeachPay? The plugin is free to use and as user-friendly as a Woo plugin can be. Set-up takes five minutes. You don't have to bother with PHP files and CSS code to add private notes and customize your checkout window. What's more, you can add shortcodes to any shop page to make PeachPay show up there and entice customers with a quick 1-click checkout.
Get PeachPay today. If you happen to need assistance setting it up, our stellar customer support will walk you through the process.