How to Accept Credit Cards on Your WooCommerce Site
David Mainayar on | 6 min read
Want to make it easier for customers to purchase from your WooCommerce store? Credit cards are one of the most popular payment methods online. Offering credit cards as a payment option will make your WooCommerce store accessible to a wider customer base, help you to reduce cart abandonment, and support your sales goals. In this post, we’ll explore the best way to accept credit cards on your WooCommerce site.
Why should you accept credit cards on your WooCommerce site?
People like to have control over which payment method they want to use at checkout. Giving them multiple payment options is a safe bet. At the same time, it’s important for eCommerce site owners to stay on the pulse of shifting online payment preferences arising due to security concerns, perceived convenience, and major events like the COVID-19 pandemic.
Even as digital wallets have caught on among consumers, there are two unignorable advantages to offering WooCommerce credit card payments on your online store:
-
Improved user experience: Credit cards are the most popular payment solution among online shoppers: 79% of Americans own at least one credit card, and 41% of consumers prefer to use a credit card over other payment methods when shopping online. Allowing major credit cards on your WooCommerce site will make it appealing to a wider customer base.
-
Reduced cart abandonment: A huge 69% of customers abandon their online shopping cart before making a purchase. If your customers can’t pay using their preferred method, they may lose interest in completing the transaction, resulting in lost sales for you. By accepting credit card payments in WooCommerce, you can reduce cart abandonment and facilitate sales.
How can you accept credit cards on your WooCommerce site?
The easiest way to accept credit card payments through your WooCommerce site is to use a plugin that integrates with one or more payment gateways. Plugins fully integrated into WooCommerce avoid customer redirection away from your site, helping to retain trust and reduce cart abandonment. They also offer greater configurability of your chosen payment gateway without the need for advanced coding knowledge, with many also offering additional security features such as fraud protection or address verification.
The most popular payment gateway plugins for WooCommerce
There are a wide variety of payment gateway plugins available. The right one for your needs depends on the payment methods you wish to add to your site, the level of customization you would like, or any advanced features you require. Given the strong preference for card payments at eCommerce stores, it's likely that the plugin you use will allow you to accept WooCommerce credit card payments.
Popular payment gateway plugins for WooCommerce include:
You may be familiar with these names, but are you aware that some WooCommerce plugins, while integrating seamlessly with many of the most popular payment gateways, also enhance customization options and create a streamlined version of the checkout process to help boost your conversions? A top contender in this category is PeachPay, a free and user-friendly plugin that optimizes checkout and payment on WooCommerce sites.
What makes PeachPay stand out from a standard payment gateway?
PeachPay can be used as a supplementary checkout option or as the only way to check out. The key reasons for choosing PeachPay as a checkout solution to enable WooCommerce credit card payments for your online store include:
-
Payment orchestration: PeachPay integrates seamlessly with many of the most popular WooCommerce payment gateways, offering secure payments through Stripe, PayPal, Google Pay, Apple Pay, Klarna, Afterpay, Affirm, with more integrations being added all the time. This ensures a stable payment experience regardless of which payment gateway you prefer to use.
-
Security: PeachPay is built on top of Stripe, giving all transactions on your site access to fraud protection. With PeachPay, credit and debit card information are encrypted and your website secured by an SSL certificate, which protects data transfers between customers' computers and your online store from unauthorized access.
-
Streamlined checkout process: PeachPay enables a one-click checkout process from anywhere on your site, reducing the friction between customers and checkout, and speeding up the checkout process. This reduces cart abandonment and facilitates conversions.
-
Customizable checkout experience: PeachPay allows you to create customized checkout windows with different payment methods based on what works best for your online business. You can change every aspect of the checkout window, from button color and width to the layout of the window itself.
-
Completely free: PeachPay is free to use and also comes with free customer support. Our revenue comes from a small percentage of the transaction value from our payment provider partners PayPal and Stripe.
How do you set up PeachPay to accept WooCommerce credit card payments?
PeachPay is incredibly easy to set up. Just follow the steps below to have the plugin up and running in as little as five minutes.
1. Install PeachPay
Sign up with PeachPay and complete the installation steps you see on the screen. Note that you can download PeachPay for free from the WordPress plugins directory.
2. Connect payment methods
PeachPay connects to your Stripe or PayPal account to accept payments via credit card with the applicable transaction fees and without any hidden fees. Here's what the set-up steps would look like when you use Stripe, one of the best WooCommerce payment gateways.
a. After you've installed PeachPay, navigate to the 'Payment' tab. From here, you can connect your Stripe account. Stripe and any other payment method that you may add subsequently will show up on this page.
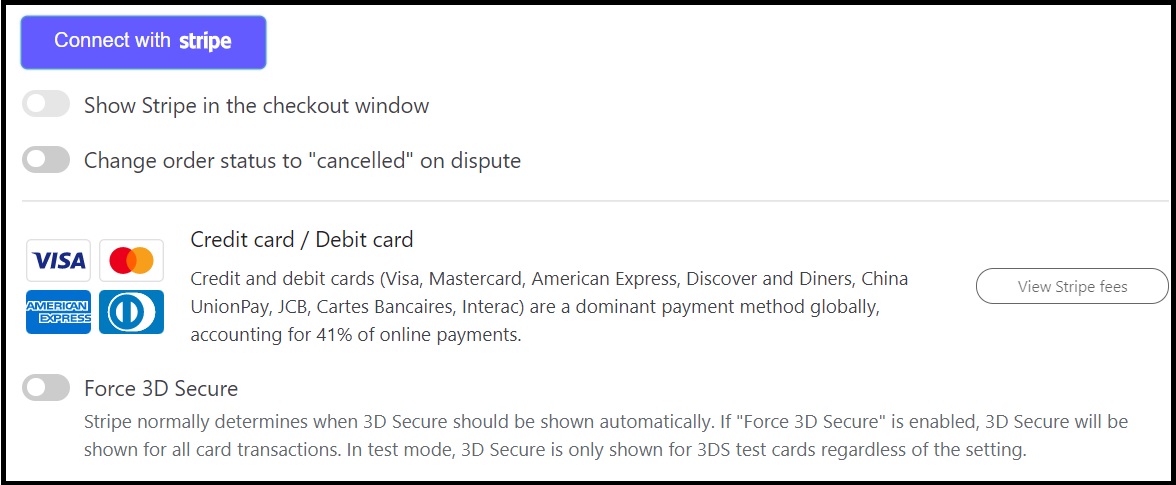
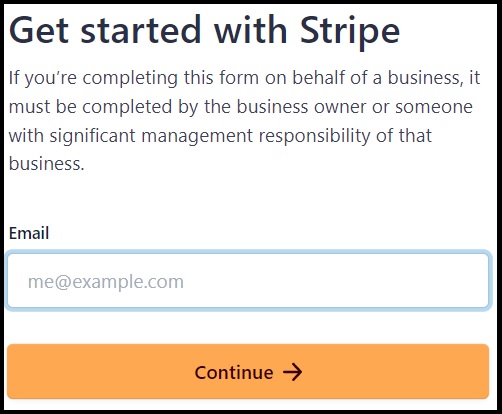
b. You will be redirected to the Stripe Connect page. Sign in to your existing Stripe account or create a new one. That's it - you can start accepting payments using Stripe.
c. You can now test how WooCommerce credit card payments work using PeachPay.
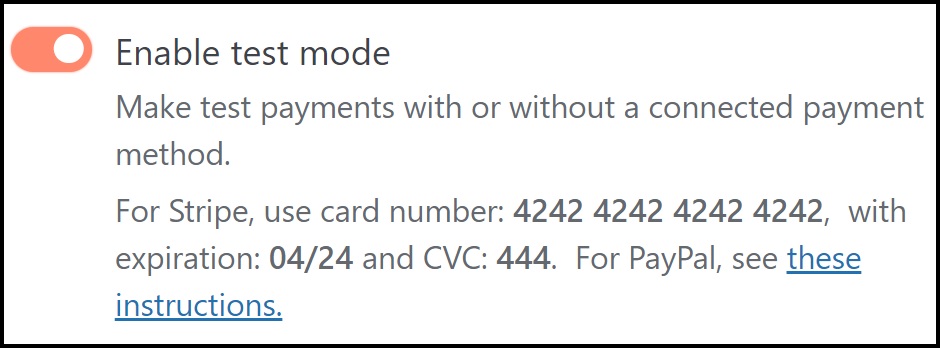
- Under Payment > General, activate 'Enable test mode' switch and click 'Save changes'.
-
Return to your store. Make sure you're logged in as an administrator.
-
Begin a checkout. When the checkout window opens, you'll see the test mode banner on top and around the window.
-
Enter the required information and to make a payment, use the card number 4242 4242 4242 4242 with any future date and CVC. This purchase will appear in your dashboard.
-
You've made your first test purchase!
Customize the interface
It takes just a few minutes to configure PeachPay to accept credit card payments in WooCommerce. The fun part comes now - customizing the PeachPay button. Here's a quick look at your options.
a. Button text: 'Express checkout' is the default call to action. You can change it to 'Buy Now', 'Place your Order' or any other CTA.

Fire safety and PPE supplier Rapid Fire Supplies has retained the 'Express Checkout' button. It is prominent against the 'Add to basket' button below. Anyone who wishes to purchase a single type of product will feel encouraged to checkout directly from the page and enjoy a smooth and seamless purchase experience.

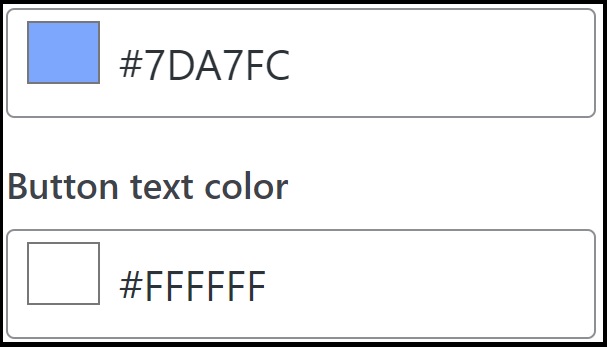
b. Colors: Select colors for the PeachPay button and button text.
c. Rounded corners: Aesthetics matter! Select the button corner radius. Leaving it blank defaults to 5x.

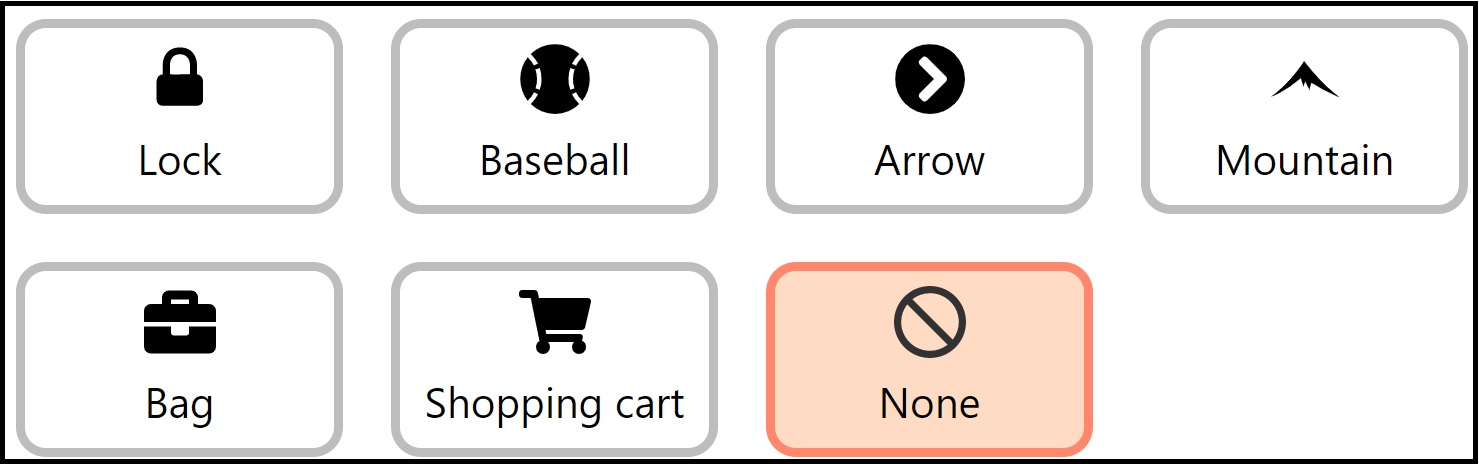
d. Icons: Icons are a part of a great user experience. You can choose from multiple icons to place inside the PeachPay button, or leave it blank.
e. Hover: Want to add more interaction to checkout? Select 'Fade' that creates a fading effect when a shopper hovers over the checkout button. Or you could leave the button as is by selecting 'None'.

f. Payment method icons: You can display WooCommerce credit card icons below the PeachPay button. For example, you could let shoppers know they can pay using their VISA, Mastercard, or American Express cards.

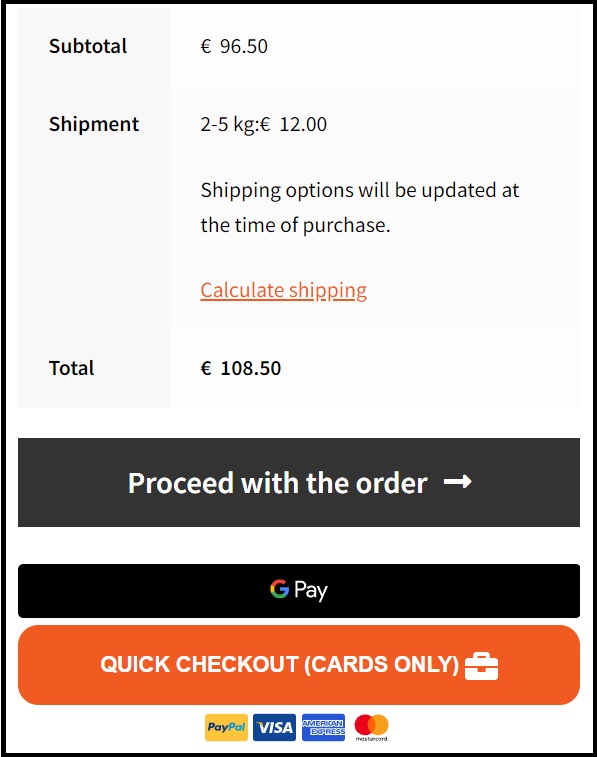
Online alcohol retailer Enoteca Corsetti uses a ‘Quick Checkout’ button for WooCommerce credit card payments, and also offers direct checkout using GPay.
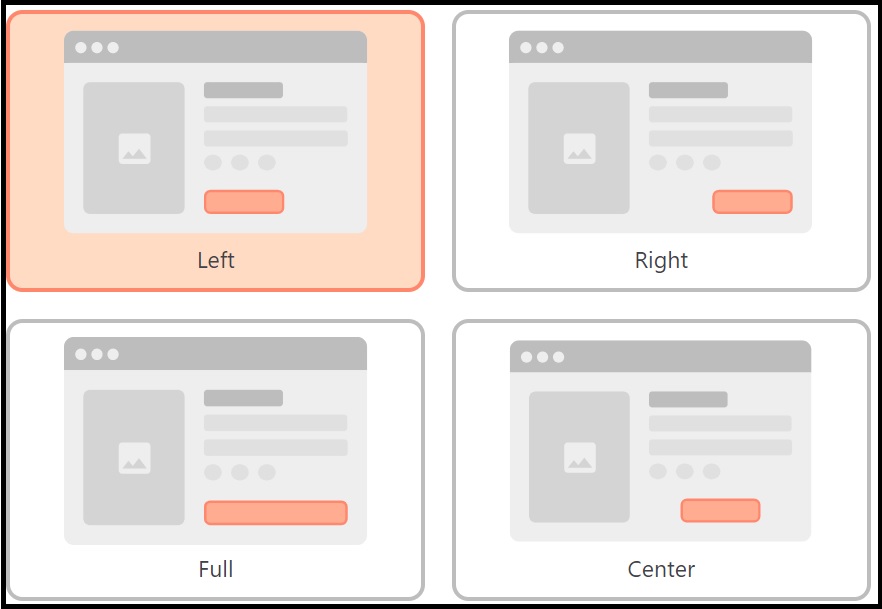
g. Enable PeachPay anywhere: You can add the PeachPay button to your product pages, cart page, checkout page and mini/sidebar cart. Multiple customization options are available, including button width, alignment (as shown below), header text, and additional text.
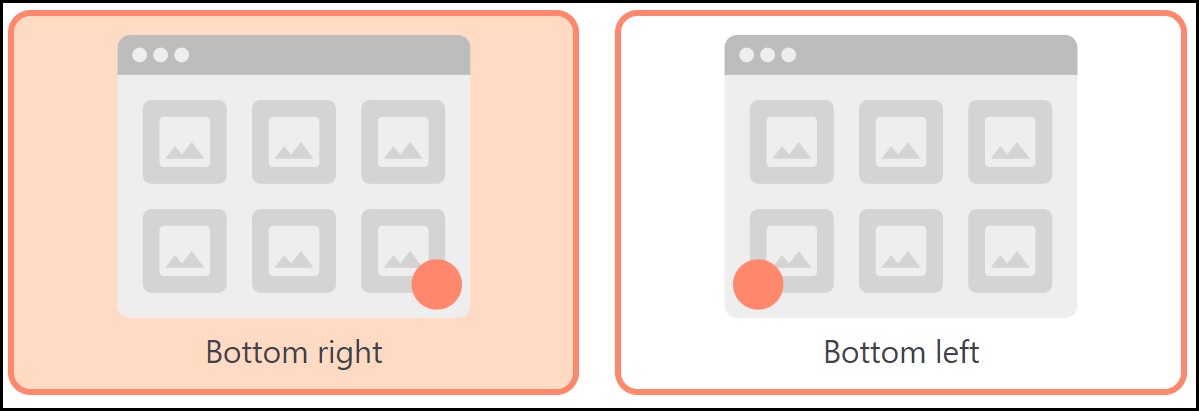
h. Floating button: Want to keep the checkout button visible at all times? You can enable a floating PeachPay button on the shop page, aligning it to the bottom right or bottom left of the page. Customization options for the floating button include button icon, size, and the gap between the button and bottom of the page, and the button and right side of the page.
Under the 'Field Editor' tab, you can display additional fields. Choose the field type, name, label, default value (if any), and whether it is required or not. More field types and customization options are coming soon!
PeachPay supercharges the checkout and payment experience on your WooCommerce site!
Credit cards continue to remain a commonly used payment method online. It's wise to include them as a payment option alongside popular eCommerce payment gateways. Accepting credit card payments on your WooCommerce site is a simple yet effective way to reduce cart abandonment and increase conversions.
While there are many payment gateway plugins that you can potentially integrate into your site, you should consider a solution that brings the added benefit of giving your store's checkout a makeover. PeachPay is designed with this purpose - it comes with plenty of functionality to effortlessly transform your checkout flow.
PeachPay works with many of the most popular payment gateways and processors, including Stripe, PayPal, Apple Pay, Google Pay, Klarna, Afterpay, Affirm, and purchase orders. It also allows adding an express checkout window or 'Buy Now' button anywhere on your site to enable customers to proceed directly to checkout and complete payments via their preferred method. It makes the shopping experience fast and friction-free.
With many options for customizing the 'Buy Now' button, you can integrate PeachPay with your existing site design.
Install PeachPay to start experiencing the benefits of 1-click checkout. Get PeachPay now and watch sales momentum build up!