How to Create a Custom Add To Cart Button in WooCommerce
David Mainayar on | 9 min read
The WooCommerce button is a part of the checkout flow that can affect how people behave on your site. In this post, we explore how you can create a custom WooCommerce add to cart button. We also explain how you can improve the full checkout process with PeachPay, a free, easy-to-use solution for WooCommerce.
What is a custom add to cart button and why should you use it?
The add to cart button is prevalent in eCommerce stores, appearing on product pages and throughout the site. It is the digital equivalent of putting items in your shopping cart while you browse physical stores. Online shoppers add products they intend to purchase to the cart, but this doesn’t mean that they will complete payment and buy those items. Yet, as the clickable button is a step toward a sale, it should be well thought out and designed to add value to the checkout journey.
A custom add to cart button is a customized version of the default WooCommerce add to cart button. It can be used for various purposes - increasing conversions, promoting specific WooCommerce product types or categories, or reinforcing visual identity.
You might want to customize your add to cart button for different reasons:
-
Improve branding by adding a recallable icon to it or changing the button color to fit your brand or background color.
-
Tailor the cart button text to your product. For example, you can use 'Enroll now' or 'Book course' for your online courses. If your A/B tests show that 'Click to Order' or 'Shop Now' perform better, you'll want to use this text instead.
-
Add size, color, or price options to the WooCommerce add to cart button.
How to customize the add to cart button?
WooCommerce doesn’t have customization options for the add to cart button. If you use a page builder like Elementor to develop your website, customizations are available with the Pro plan. If not, you can expand your customization options in two ways:
-
Use code to edit the add to cart button in WooCommerce. To customize, disable or hide the WooCommerce button, you will need to add code to the functions.php file. This is best attempted if you have coding skills or if there’s an in-house/freelance developer on your team.
-
Use a plugin to create a custom WooCommerce add to cart button. It's the easier option as there are many plugins designed for this purpose.
Whichever route you take, the personalized add to cart button you create will help ensure a differentiated shopping experience. The complementary color and sticky message of your WooCommerce button will lead website visitors to more easily connect with your brand.
eCommerce brands strive to add deeper meaning to the colors and messages on their websites. In fact, 73% of companies invest in website design to differentiate their brands, with the understanding that the consequences of not having a good site design or comfortable shopping experience can lead to shopping cart abandonment. This essential online retail metric hovers at about 70% and is influenced by several factors. Addressing them can encourage more customers to go through with their purchases.
A personalized WooCommerce button is a piece of the larger puzzle, a milestone along the buying journey on your site. With enough appeal, it can help reduce cart abandonment and increase conversions.
Why boost your checkout flow beyond add to button customizations?
While customizing the WooCommerce add to cart button enhances the shopping experience, improving the entire checkout process raises the chances of a sale. A checkout flow is a series of steps that online shoppers have to follow to pay for the product they want to buy. People expect a fast and smooth flow - any additional steps or effort from their side tend to discourage them from completing the purchase.
Improving the checkout design has been seen to improve the conversion rate, on average, by 35%. Anything you can do to optimize the checkout process will pay off, and it's worth understanding how you can go about it easily. Another relevant finding is that 23% of customers abandon their purchase because they have to create an account on the site. The extra effort needed to create an account prior to purchase creates friction and makes customers pause. Some will create an account, others will simply leave.
Reducing steps to complete payment or seamlessly transitioning shoppers from cart to payment is key to smooth checkouts at your WooCommerce store. It can persuade those who find long checkouts frustrating to go through with their purchase rather than leave midway.
Combat purchase friction and cart abandonment with PeachPay
PeachPay is a WooCommerce plugin that enables a fully customizable single-window checkout window. It makes checkouts ultra-fast in a number of ways:
-
Facilitates single-item purchases straight from the product page
-
Makes multi-item purchases from the cart page easier and faster
-
Uses payment and shipping information previously entered by the customer
-
Keeps cart details within the checkout window for reference
-
Adds an 'Edit' button to allow the customer to modify personal/shipping details
-
Shows a detailed breakdown of price in the order summary
-
Allows you to add coupon codes or the customer to redeem gift/store credit
-
Includes an optional order note for the customer to add instructions on customizations, gift wrapping, and others
PeachPay does not let you change the add to cart button in WooCommerce. It takes the big picture view of checkout, allowing shoppers to transition seamlessly to payment without any interruptions. Online shoppers don't have much patience and even a split-second wait can affect their website experience. So much so that Google deems a page load time of 2 seconds as 'acceptable' for eCommerce sites. Speed is also a factor for WooCommerce checkout optimization and you can shave seconds off checkout with PeachPay. Using it in conjunction with a customized WooCommerce add to cart button should be a part of your optimal checkout strategy.
How to use PeachPay - Conversion boosting tips
Here are some ideas on how you can add the PeachPay button to your product pages and other site locations to create a frictionless purchase journey.
-
Remove the add to cart button in WooCommerce for single-item purchases. Allow customers to checkout directly from the product page. They'll still be able to see the cart in the checkout window.
-
If you retain the add to cart button in WooCommerce, you can use PeachPay on the cart page. This functionality is more suitable for multi-item purchases.
-
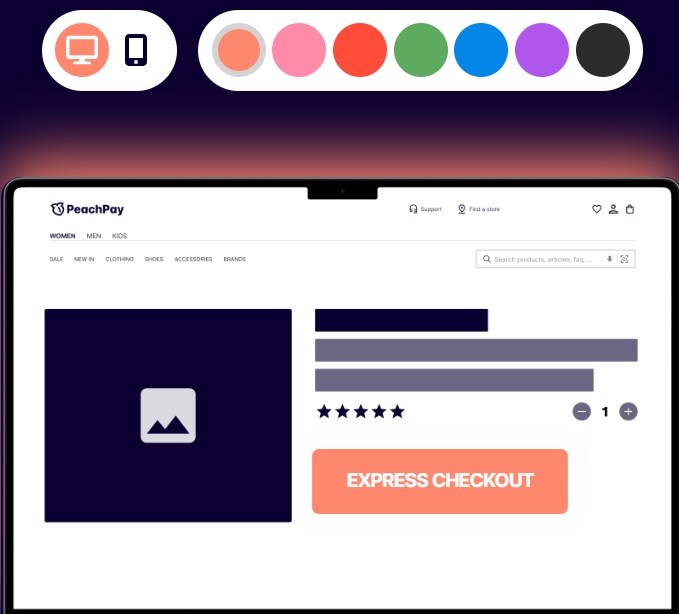
Edit the checkout button color, width, alignment, and the whole layout design of your checkout window.
-
Place the checkout button in specific locations, from a single product page to various product categories using WordPress shortcodes. Using the PeachPay shortcode is simple - add [peachpay product_id=123], where '123' is the ID of the product that will be shown in the checkout window. You can replace the number with your own product IDs; the rest of the code snippet remains the same.
Note that PeachPay does not replace the WooCommerce add to cart button - which is still visible throughout the purchase experience. Shoppers can click on the cart icon within the checkout window to add more quantities of the purchased item, remove the item from the cart, check again if they've got the right product size, and confirm other details before proceeding to payment.
Another key factor for customer experience is the ease with which shoppers can complete payments. An effective way of achieving this is by offering multiple payment options, making sure to include the methods most preferred by your target audience. It is also a good idea to include as many digital and mobile wallet options as possible, given how their share of global eCommerce payment transactions is predicted to increase to over 50% by 2024. PeachPay's got you covered on this front - the plugin supports all top payment gateways, including PayPal, Google Pay, Apple Pay, Klarna, and AfterPay, with AliPay and other mobile and digital payment methods soon to be added.
PeachPay adds coupons, gift cards and order notes that many online sellers include on their checkout page. The difference is that they appear within the checkout window opening up on the product page rather than requiring the buyer to click through to the checkout page. Follow the screenshots below to understand this better.
For a single-item purchase, the shopper can checkout directly rather than being taken to a cart page with only one item.
The checkout window opens on the same page. The cart is visible so the buyer can review their order here. They can then initiate payment using the PeachPay button.
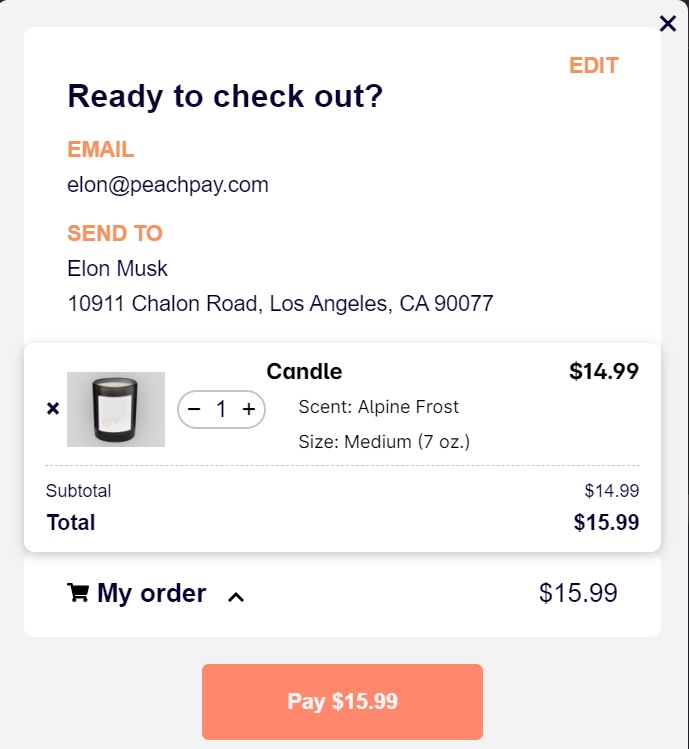
The checkout window also expands to show buyers the full order summary. They can add order notes here as well. They can edit their personal and/or shipping address if so needed. PeachPay also assists with the cross-sells and upsells you've created in WooCommerce. The relevant product appears in the checkout window and can also be placed in other areas of your website.
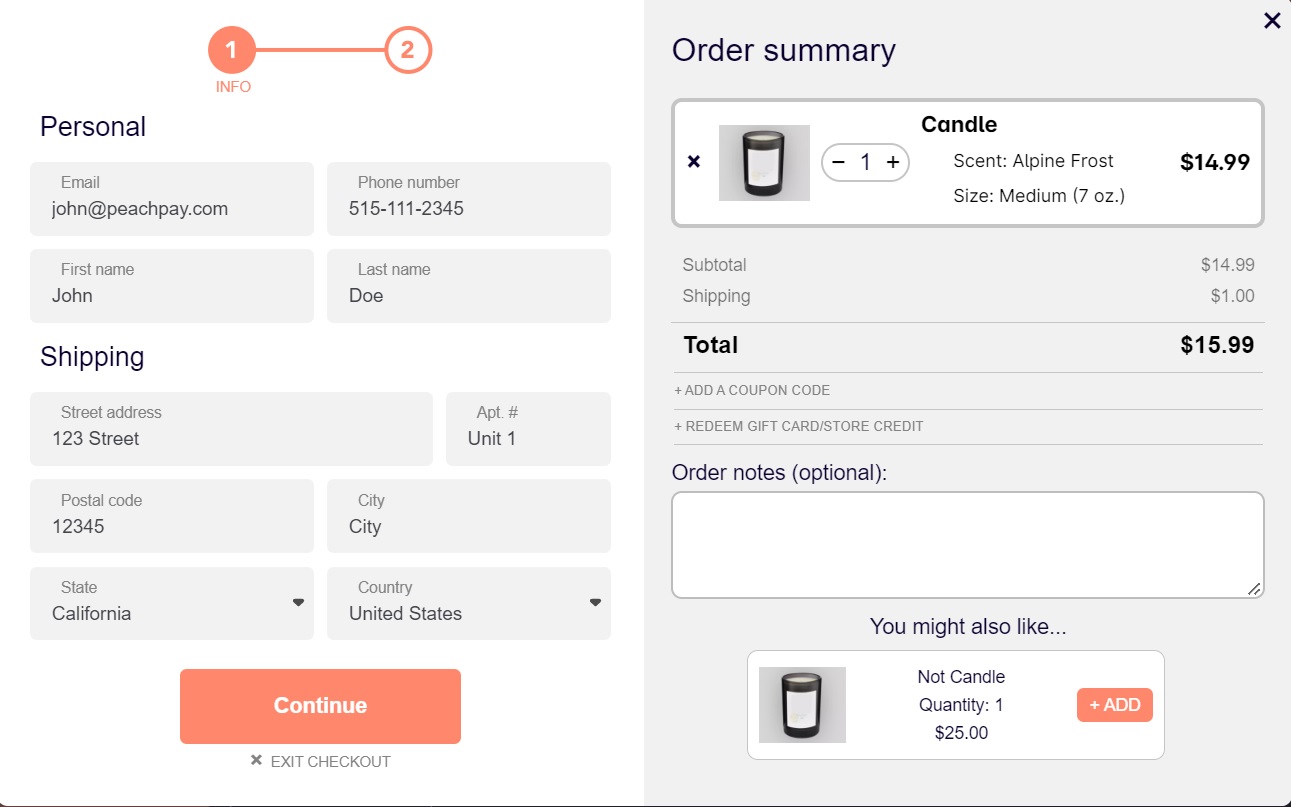
The checkout window has a compact design with multiple neatly arranged sections that are visually accessible without cluttering up the screen. The PeachPay button is prominent and can be customized to your requirements.
The checkout window layout is also editable to suit your needs.
How to customize the checkout button and window
You have the flexibility to tailor the PeachPay checkout button and window fields the way you wish. It's easy to do and you can preview how the button will appear on the front end. There are multiple options for customization, as you'll see in the tutorial below.
Define how the checkout button should look
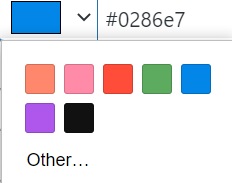
- Change the color of the button to match your website's color scheme. Alternatively, you can retain the default peach color.
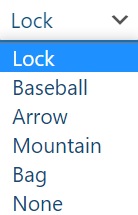
- You can enable an icon for the checkout button. While the bag and lock icons are popular, you can try something different with PeachPay.
- Do you want the checkout button to look more like a button? You can adjust the rounded corners to make the button more or less curvy.
- Want to make the checkout button text sticky? Create urgency with 'Buy Now' or 'Get Now', invite the buyer to 'Place Order', simply say 'Checkout' or promise an 'Express Checkout', which is the default. You can easily modify this WooCommerce button text based on your A/B tests or other research.

- The remaining checkout button customization options include turning off the button shine, tuning on button fade when the buyer hovers over it, matching the button font style to your theme font, and hiding payment method icons below the PeachPay button.
PeachPay floating button on the Shop page
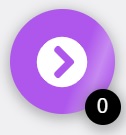
A floating button remains visible as an icon on the page and on the different pages the customer visits. It stays in the same position and is visually accessible to the customer, reminding them to complete checkout or letting them add another item to the cart.
The PeachPay floating button uses the icon you've chosen and indicates the number of items in the cart. It is customizable based on button size, icon size, position, and the gaps you'd like to leave at the bottom, left or right.
Button customizations for product, cart and checkout pages
You can adjust the alignment, position and width of the checkout button on the product page. The PeachPay WooCommerce button on the cart page can be modified based on alignment and width without the need for CSS/PHP/HTML coding. These customization options are available for the checkout page, which additionally, allows you to remove the outline around the PeachPay button, and customize the text above the button and additional text below the button.

You also have the option to hide the floating PeachPay button on the shop page and the PeachPay button on the product, cart and checkout pages. Furthermore, you can choose not to show PeachPay in the mini and/or sidebar cart.
Customize checkout fields
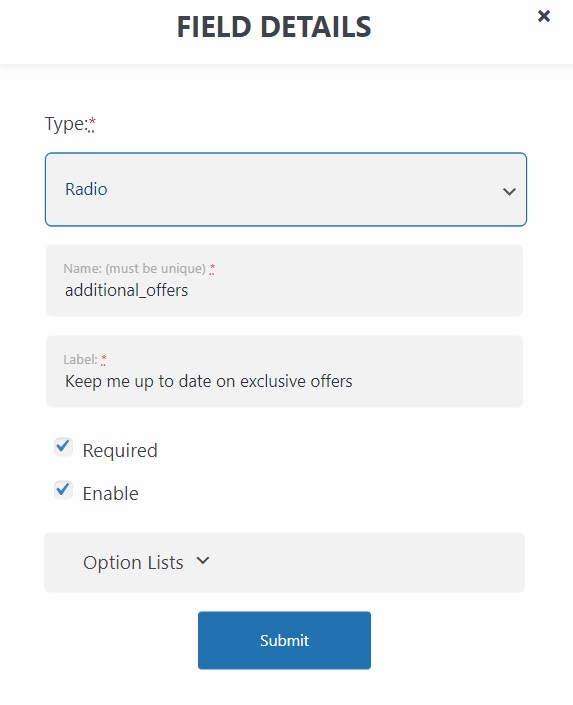
The PeachPay checkout field editor in your WordPress dashboard lets you add additional fields in the checkout window. You can enable, disable or remove the fields as and when you decide to do so.
In the example below, the field editor is configured to give buyers the option to receive the latest offers from you. You can put this feature to use in different ways. For example, you can get customers to opt-in to your emails or ask them a quick question like 'Where did you hear about us?' for your survey.
Hide shipping/billing address for virtual products
Do you sell services, subscriptions, ebooks, warranties, memberships, or other non-tangible items? In this case, you can keep the shipping address field hidden.

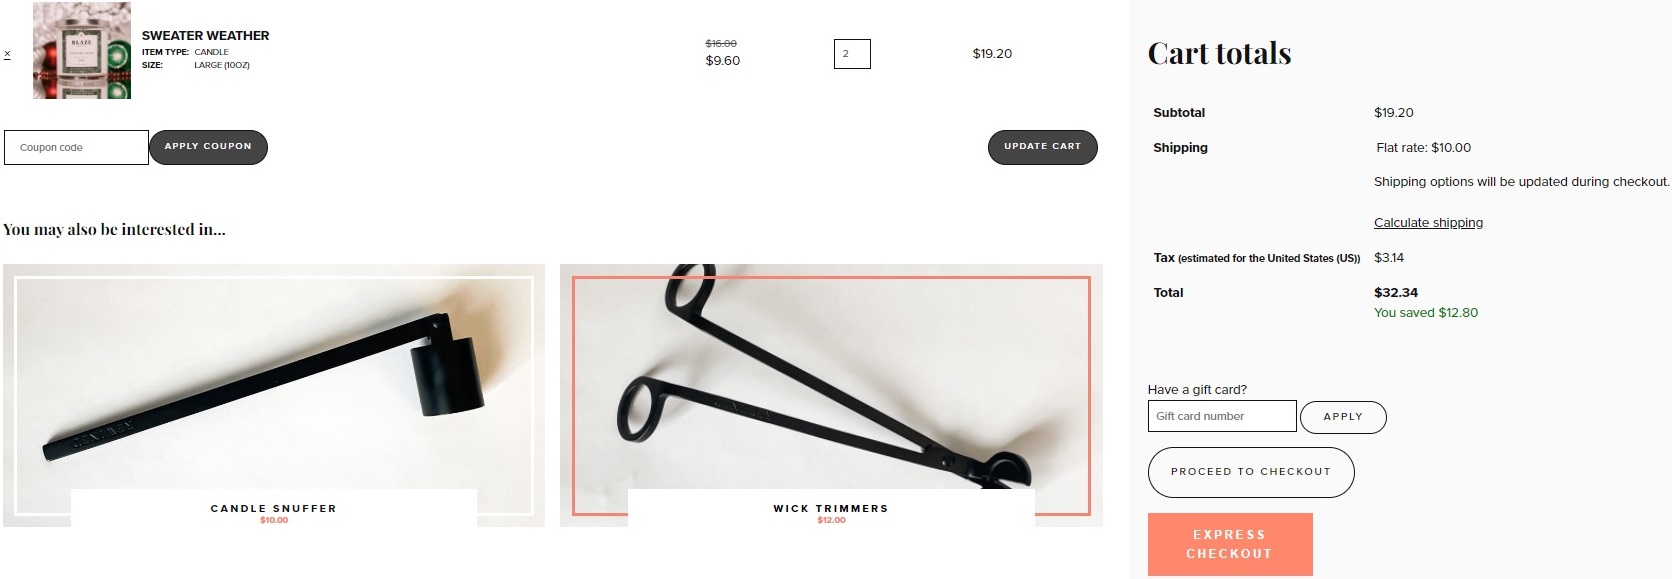
Case Study - Blaze Candle & Wax
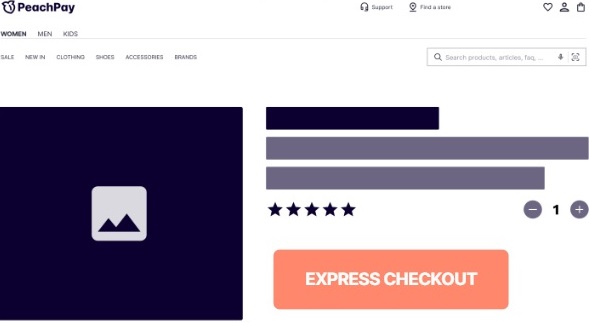
Blaze Candle & Wax, a seller of natural wax candles, uses PeachPay checkout for their website. The online retailer's product pages feature the WooCommerce add to cart button and PeachPay Express Checkout button.

PeachPay also shows up on their cart page. From here, buyers can do an express checkout using the PeachPay button or opt for the standard checkout process, which is longer. Express checkout is even faster for returning customers as PeachPay saves billing and personal details when customers sign up with the site.
Blaze Candle & Wax customized their WooCommerce add to cart button to be congruous with the PeachPay checkout button. It has made for visually pleasing product pages. Styling opportunities to elevate the appeal of the add to cart button in WooCommerce are plenty, as explained below.
Tips for creating the perfect add to cart button
Boosting your add to cart conversion rate doesn’t have to be difficult. You don't have to go overboard with the design of your WooCommerce button. Using a bit of color psychology and following some best practices can go a long way.
Color selection tips
-
Consider using a button color that evokes the associations people make with your brand, such as green for organic foods or red for fashion apparel or entertainment.
-
If you have an established brand color palette, use colors aligned with it - it’s subtle but does further your branding.
-
Another option is to choose a bold color that doesn't necessarily evoke feelings associated with your brand, but rather makes the cart button more memorable and recognizable.
Use relevant add to cart text
You may already be aware, but it's worth reiterating the impact of the add to cart message in motivating checkouts. Make sure to keep the text relevant to the product you're selling. For example, “Add To Cart”, “Book Ticket” or “Order Now”.
Make buttons visually accessible
Make sure that your WooCommerce buttons are large enough to be easily visible to customers. They should stand out against other elements on your website. For example, if you're placing the button above the fold on your homepage, make sure that it's not hidden by a banner or another element.
Ready to transform the checkout experience?
A great WooCommerce add to cart button and fast checkouts are a winning combination for eCommerce retailers, helping boost customer experience and conversions. The good news is that customizing the WooCommerce add to cart button and enabling rapid checkouts isn't challenging, risky or expensive. You just need the right solution. PeachPay is a free and easy-to-use plugin that can transform the checkout experience and drive healthy sales for all types of online retailers. PeachPay alone is perfect for single-item purchases, while the combination of custom WooCommerce ‘add to cart’ buttons and PeachPay is ideal to give customers more flexibility in choosing how they want to checkout.
Get PeachPay now and watch your eCommerce conversions skyrocket!