How to get started with Figma plugins to level up your design
Mai Phuong Vu on | 10 min read
At PeachPay, we use Figma for all design work: let it be for ideation, UI/UX prototyping, or marketing. There are many other great design tools out there that cover all or some of these needs: Miro, Adobe, Sketch, inVision, Canva, and many more. For example, Adobe offers different softwares for all different needs: Illustrator for vector design, Photoshop for retouching images, AfterEffect to animate, or XD for UI/UX design. So, what makes Figma so special to PeachPay? Its community.
The Figma community
While Figma doesn’t offer as many capabilities as Adobe on its own, it has a community like no other. Figma users share templates with others so that they can learn and draw inspirations, as well as plugins for different features that Figma does not yet offer. Because of these features, Figma is perfectly on par with softwares like Adobe and is the all-in-one design tool – especially for our needs at PeachPay.
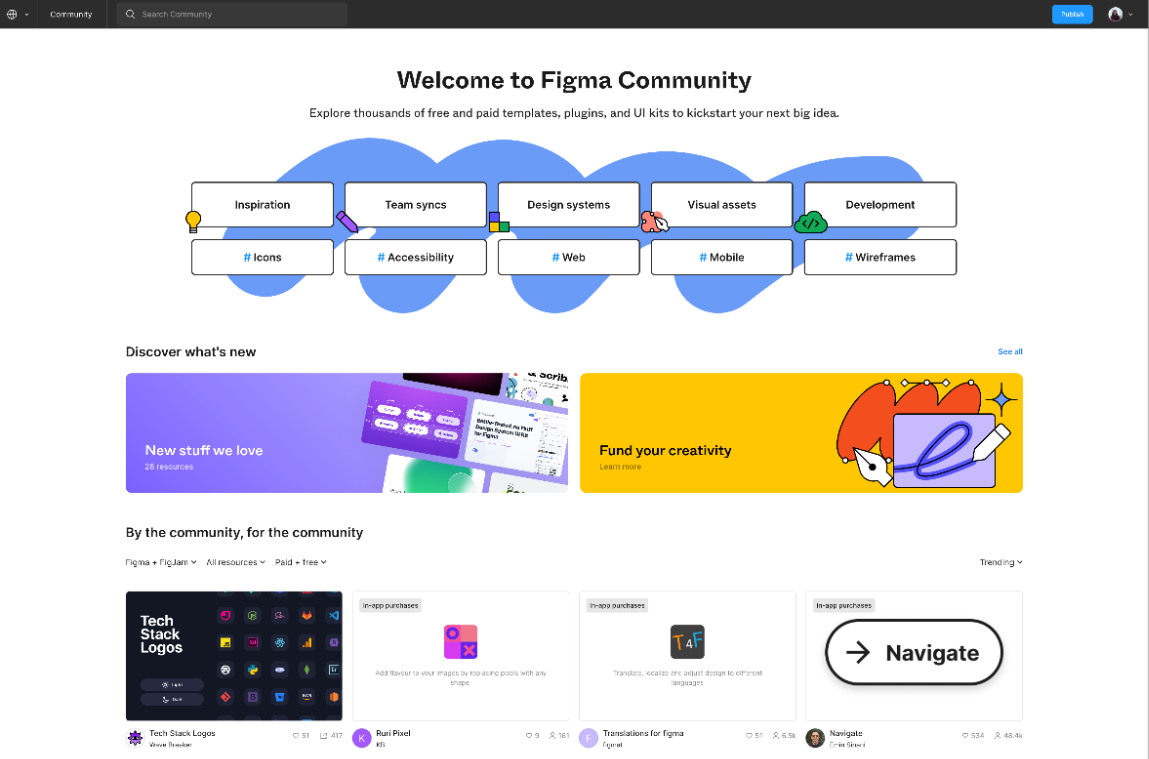
Figma and Figjam templates
In the Figma community, you can find templates for everything thanks to the generous community. Need some inspirations for landing pages, design systems, or an e-commerce store? The Figma community has you covered!
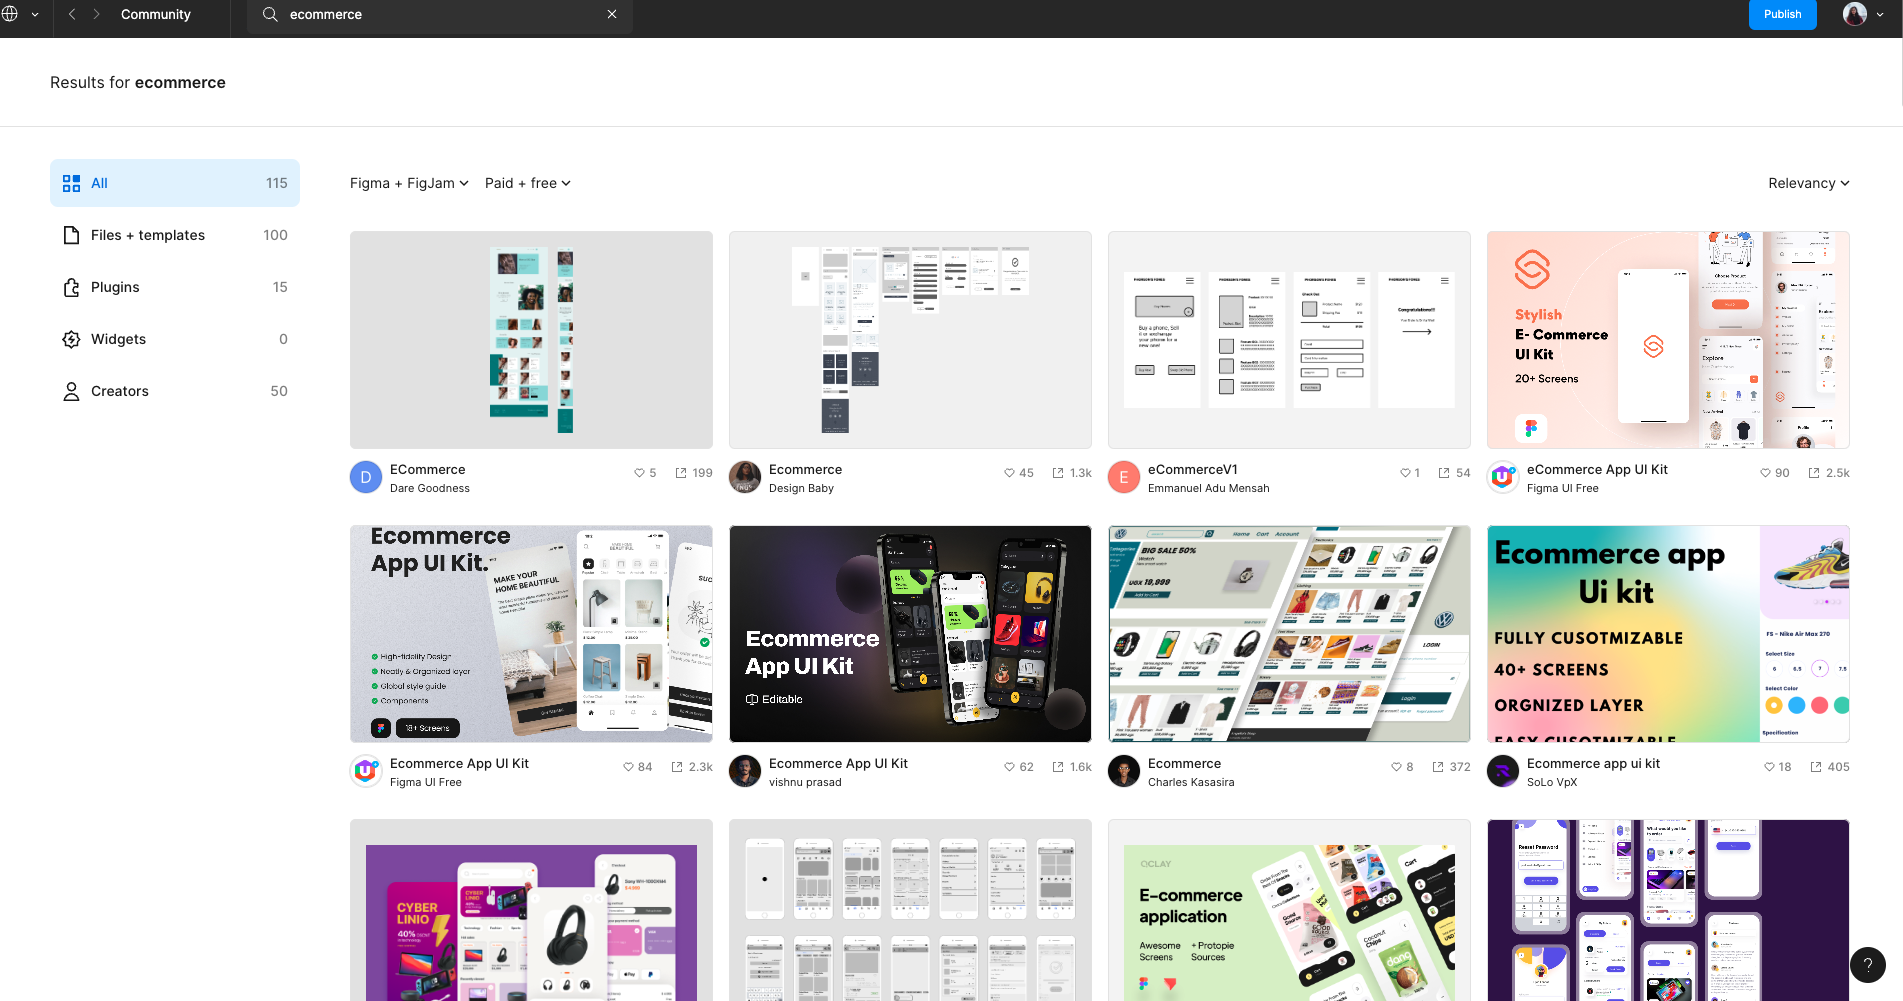
Within the e-commerce section, there are 115 templates to choose from and remix. You can use others’ work as much or as little as you want. This is honestly the best way to learn Figma: see how more experienced users are using it, and learn from them.
Figma plugins
Now the other best thing that the community offers are the plugins. Let’s be honest, designers have many needs that often vary by design type and style, and there is no software out there that can handle everything perfectly – Figma is no different. However, Figma has made it possible for developers to create plugins that fills the gaps that Figma currently doesn’t by creating thorough documentation about their Plugin API and putting effort into creating a Figma developers community in their Discord server.
Currently, there are thousands of plugins available in Figma for all kinds of needs: managing design systems, creating illustrations and animations, documenting designs for design handoffs, and many more. With all these plugins, Figma has almost all the capabilities that other design softwares have (and if there is something that is not yet handled, someone will make a plugin solution for it). What makes Figma’s creators even better is that most of these plugins are free or have a free plan, making Figma into a cheaper option than other softwares, like Adobe.
How to discover and add plugins
Through the community
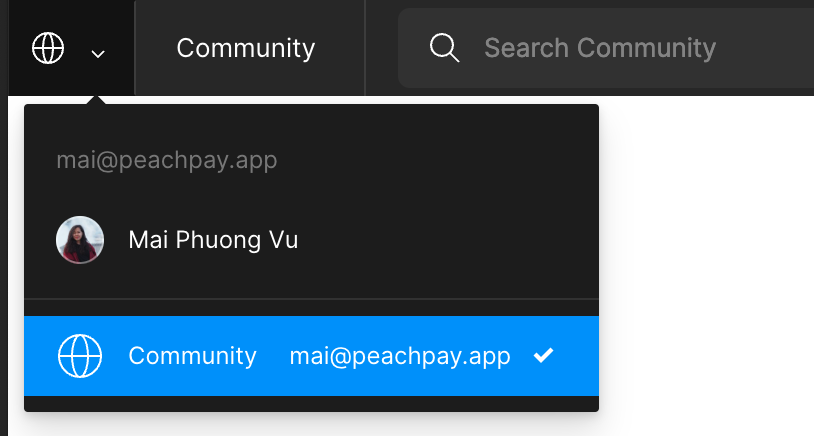
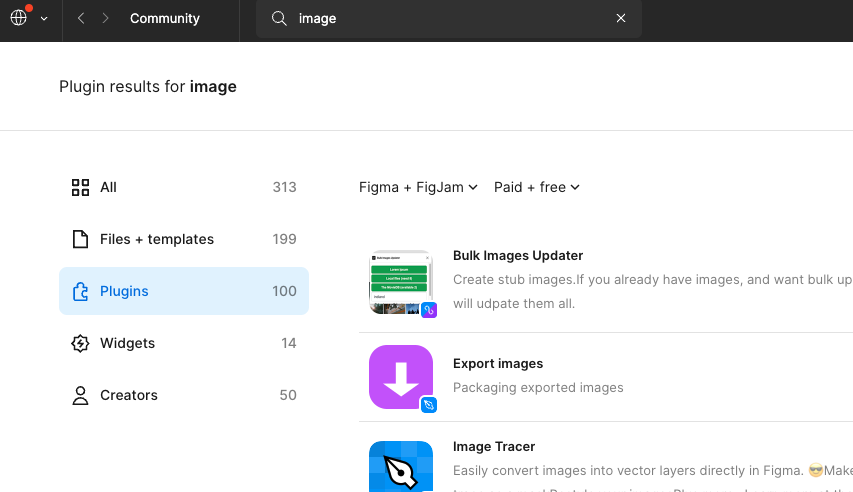
One way to discover and add plugins is through the community tab that you can access by clicking in the left upper corner and selecting ‘Community.’
You can then use the search bar to find plugins, such as ‘image,’ and selecting ‘Plugins’ from the left navigation.
You can also browse through plugins without any keyword through the Community home page, under ‘By the community, for the community.’ Just make sure you select ‘Plugins.’
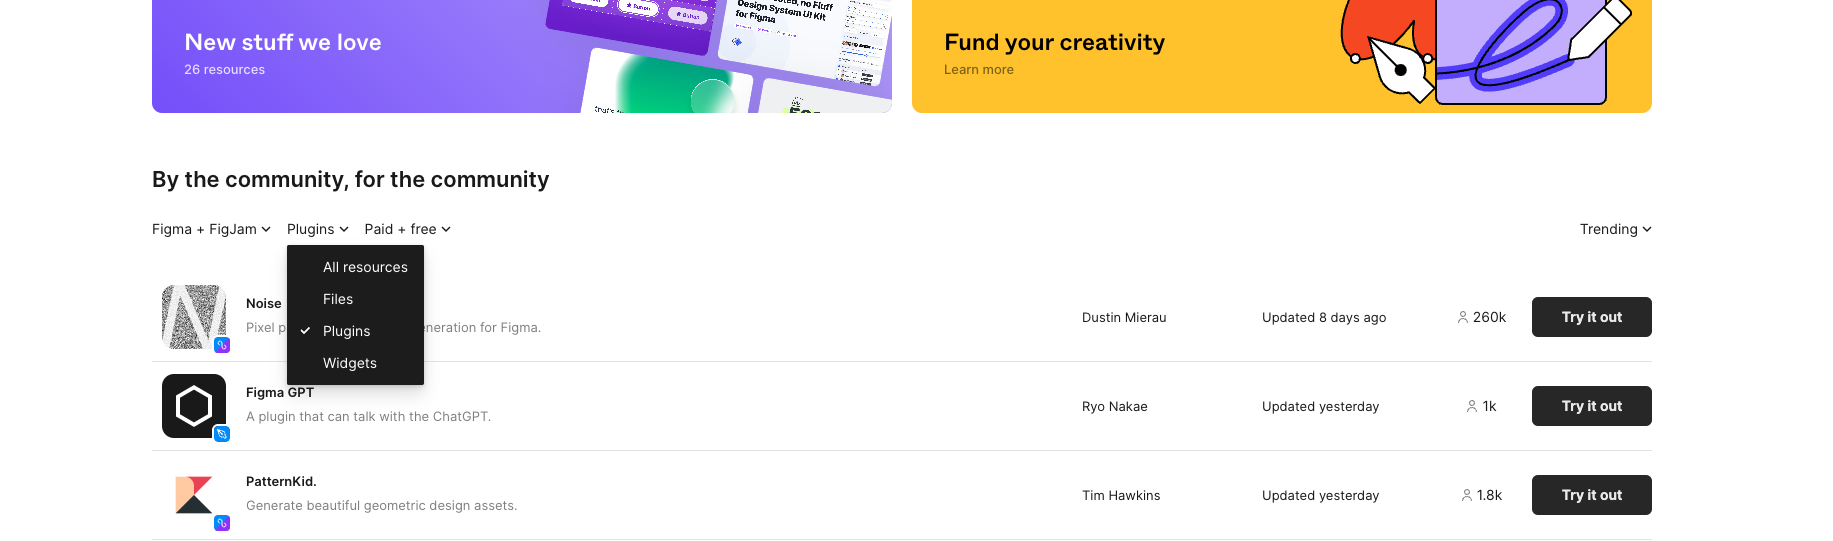
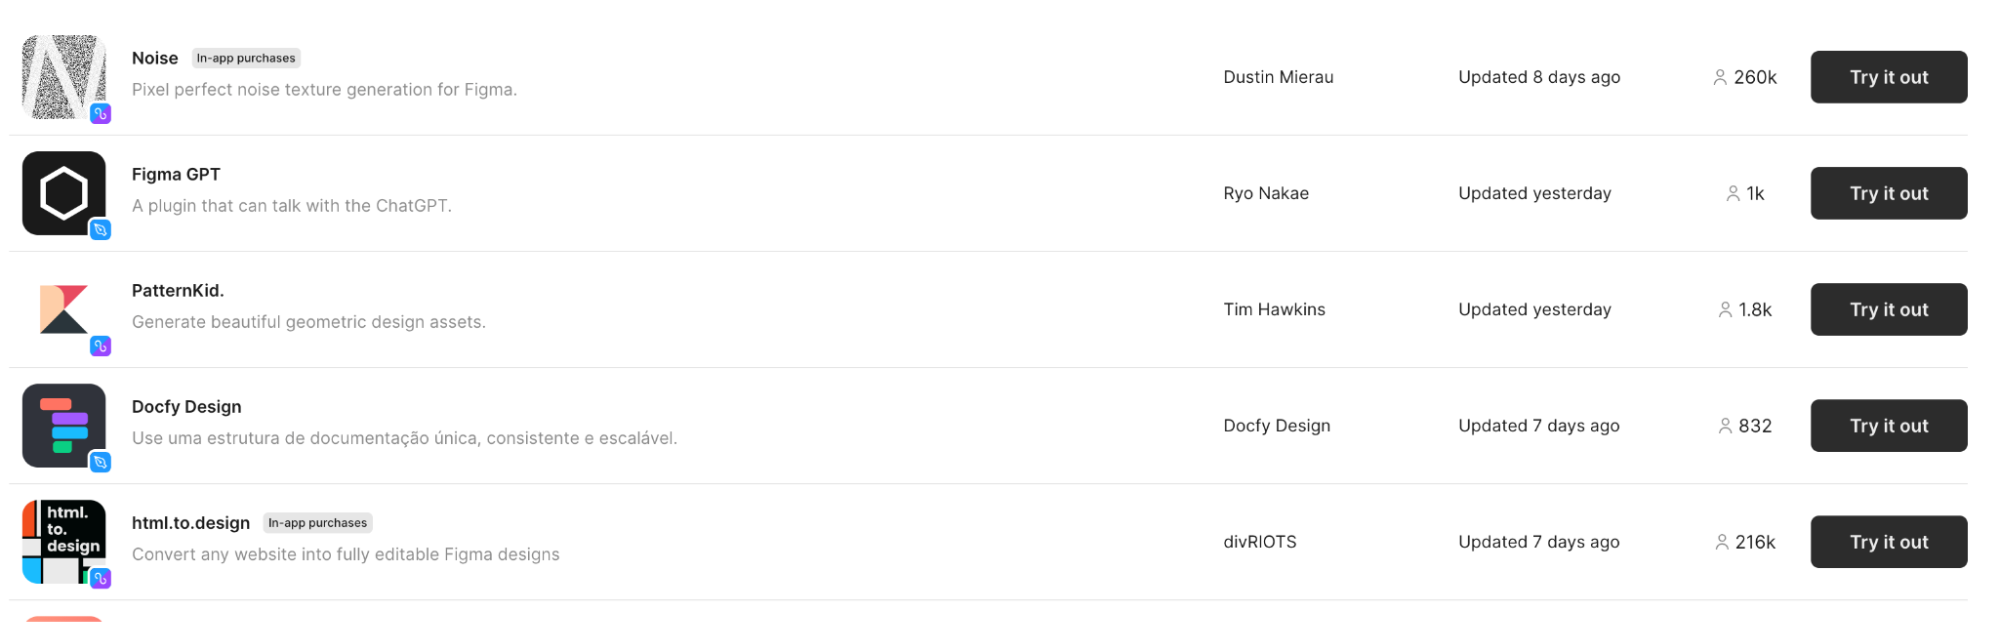
Either way, you can see the name of the plugin, a short description, who created it, when it was last updated, how many people have used the button, and an installation button.
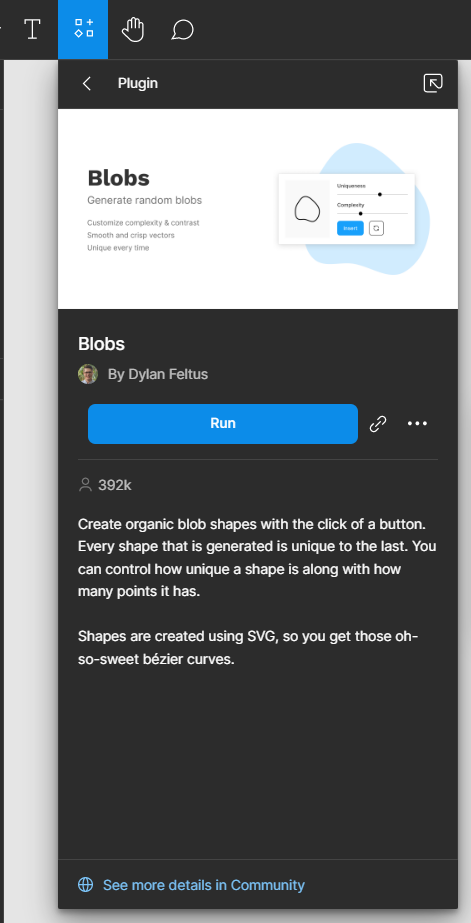
If you are certain in using the plugin, you can click on the installation button. This will open up a new Figma or FigJam file for you to test out the plugin. However, if you are not ready yet, and would like to learn about it a bit more, you can click on the plugin’s row itself, which will bring you to the plugin’s page.
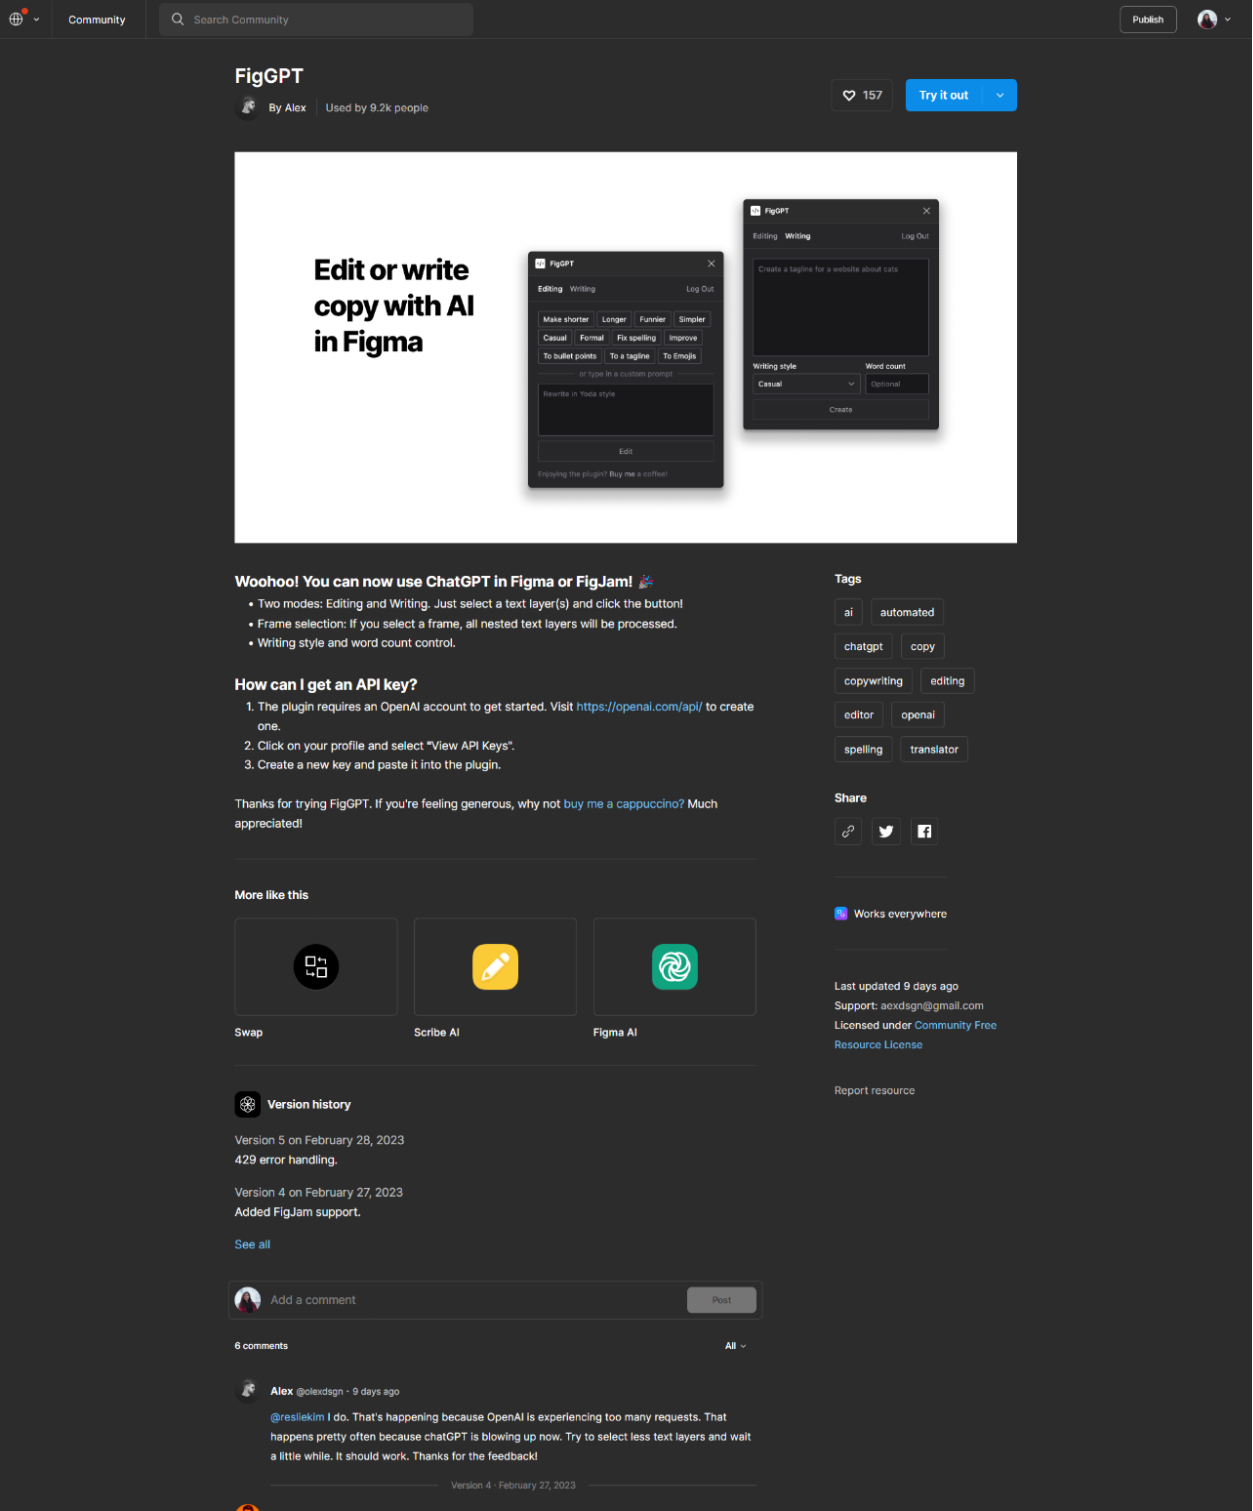
Here, you can find out more about its capabilities, similar plugins, version histories, and comments from other users. If you decide that you would like to give it a try, just hit the ‘Try it out’ button on the top, and it will create a new file for you where you can test it.
From any design file
You might not want to clutter your Figma workspace with more and more new files that were made just to test different plugins. You might already know which file you want to use with the plugin. In this case, it is best to access the plugins from the design file that you want to work on.
Open any of your Figma files, and click on the resources icon on the toolbar.
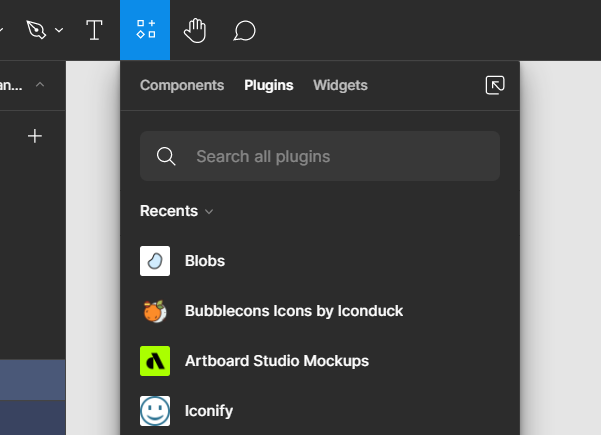
After that, make sure that you select Plugins, and then, you can search for any of the plugins you would like to use.
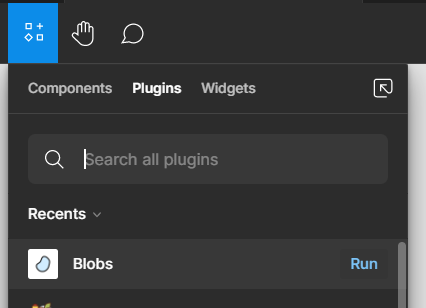
When you hover over one that you would like to use, a Run button will appear. Click on that and you are good to go! It will open a small window in your workspace and you can start using it.
If you are not yet sure about using it, and would like to learn more about the plugin first, you can click on the plugin name (just make sure you are not clicking the Run button), and you can see a short description and more information about it.
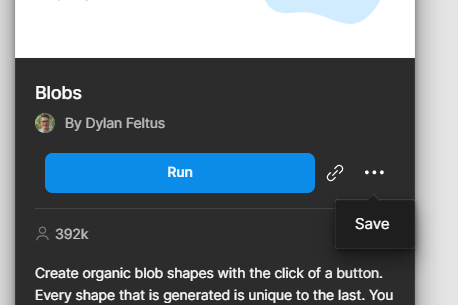
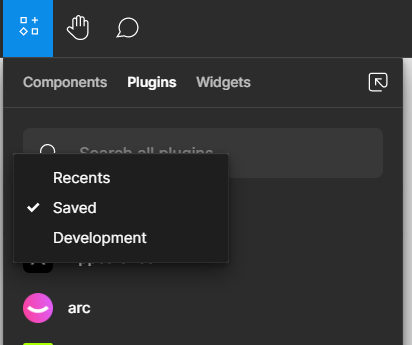
Through here, you can also save plugins if you really like them:
And, you can access your favorite ones easier by selecting ‘Saved’ instead of ‘Recents’:
One thing to keep in mind: you can only have one plugin opened at a time. So if you try running a second plugin, the first one will close automatically.
Our top 8 favorite plugins
You now know how to find, add, and access any plugins in Figma, but there are thousands of them out there! We are here to help you get started, with a list of our personal favorite plugins that we have used at PeachPay.
1. Iconify
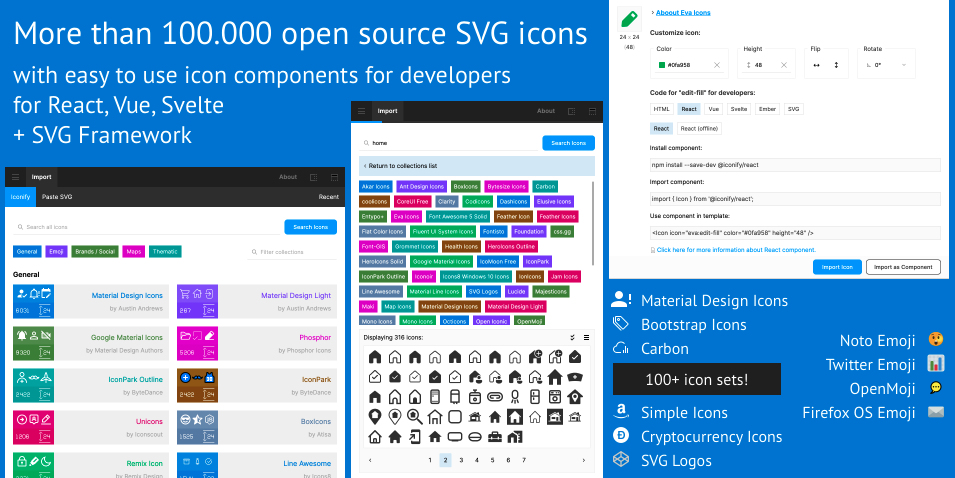
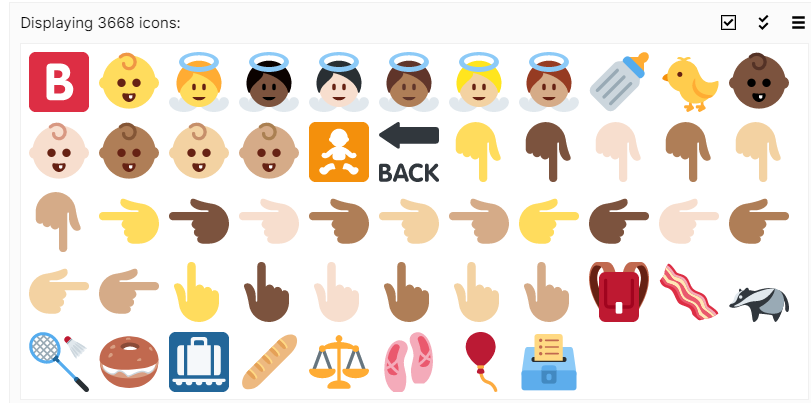
There are so many icons and icon libraries out there, from Material Design Icons to Font Awesome. So it can be a lot of work to find the right icons to add to your design with the correct styling, and sometimes you are not even sure what icon you are really looking for to represent the idea that you need. With iconify, you can browse through different icon libraries to find the icon style you want:
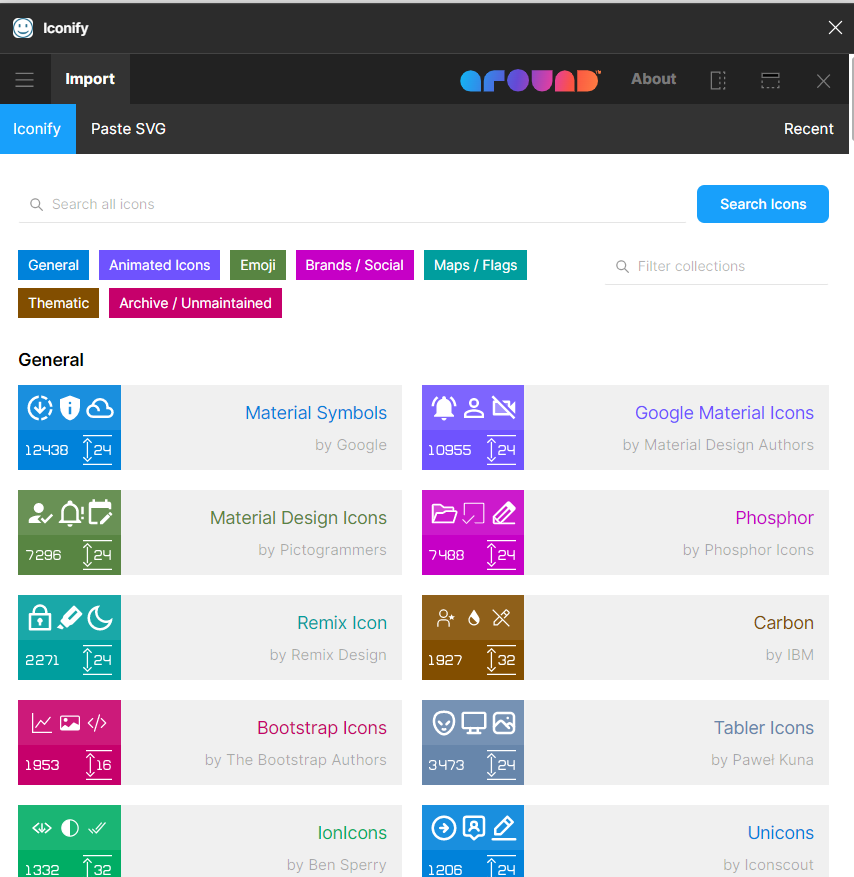
Or, if you just want to get ideas or find an icon based on a keyword, you can use the search bar to look through all the available icons.
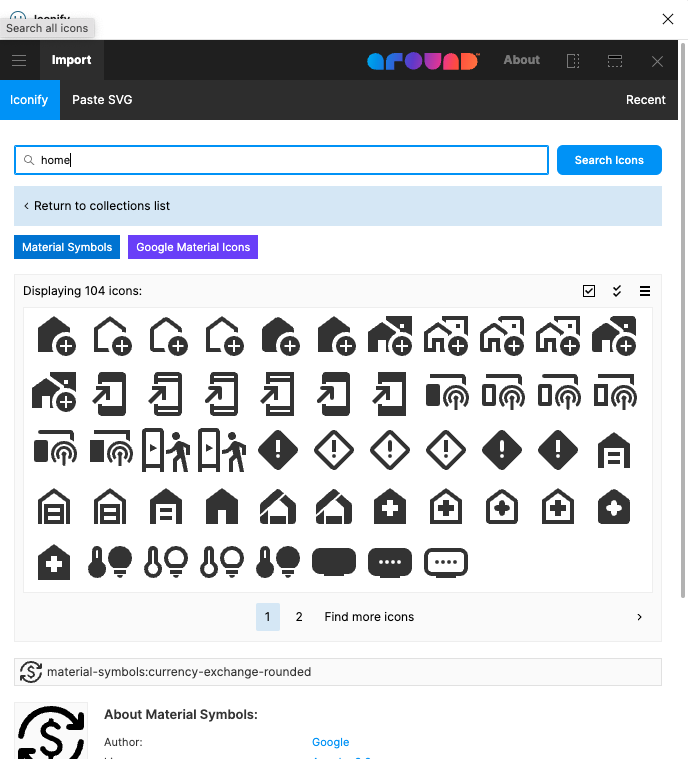
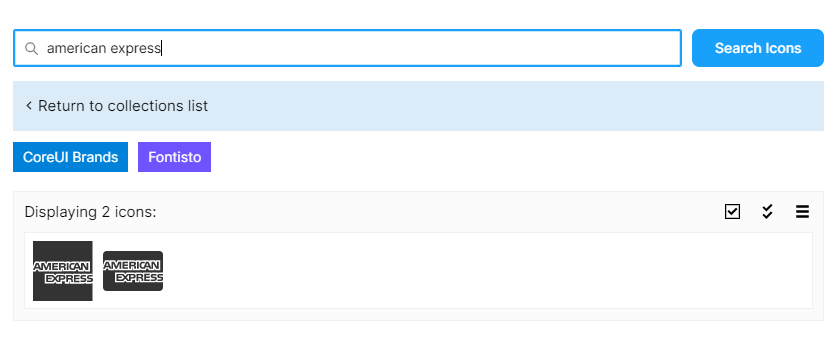
When searching for icons on Google, the worst part is when you find an icon you like, but it is in .png or .jpg, making it pixelated and not customizable. You can’t resize it nicely, use different colors on it, or mix them together as you need. The best part about Iconify is that all their icons are in .svg, making it super easy to customize based on your needs. For example, this icon was made out of a magnifying glass and an analytics icon, and was recolored to our purple:

Besides the common icons, it also has emojis and some brand logos (in .svg!).
At PeachPay, we have found Iconify to be the easiest and fastest solution to find the right icons whenever we need a new one.
2. Blobs
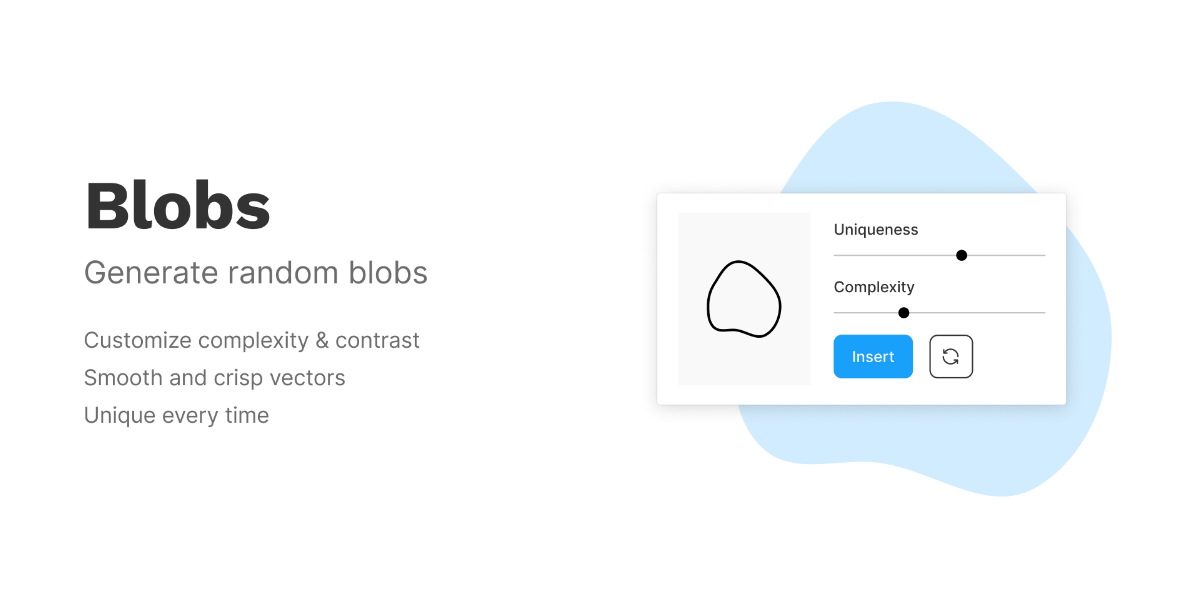
Making nicely looking blobs is not impossible, but it can also be time consuming. Especially, if you need to make multiple of them that all look just slightly different. As much as we want to, we are not random enough to make similar but different enough blobs. With the Blobs plugin, you can generate as many blobs as you want. Just press “Insert,” and it will appear in your design file. After each time you insert a new one, it will create a new blob. If you don’t like how it looks, you can click the icon next to the insert button to create a new one.
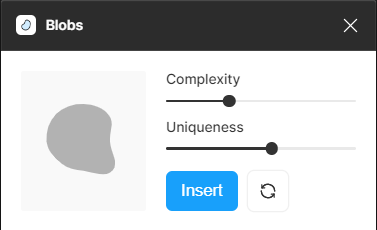
You can also modify how unique or complex you want your blobs to be.

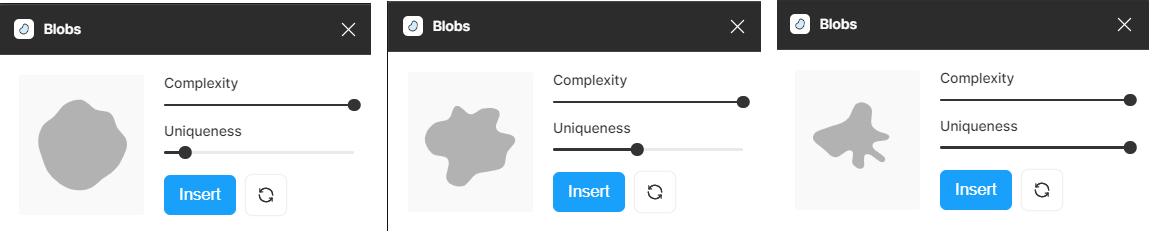
These blobs are also in .svg format, so you can resize them easily, change them a bit if you want to, or change its color. At PeachPay, we have been using this plugin to create small blobs for our marketing materials:
Unsplash
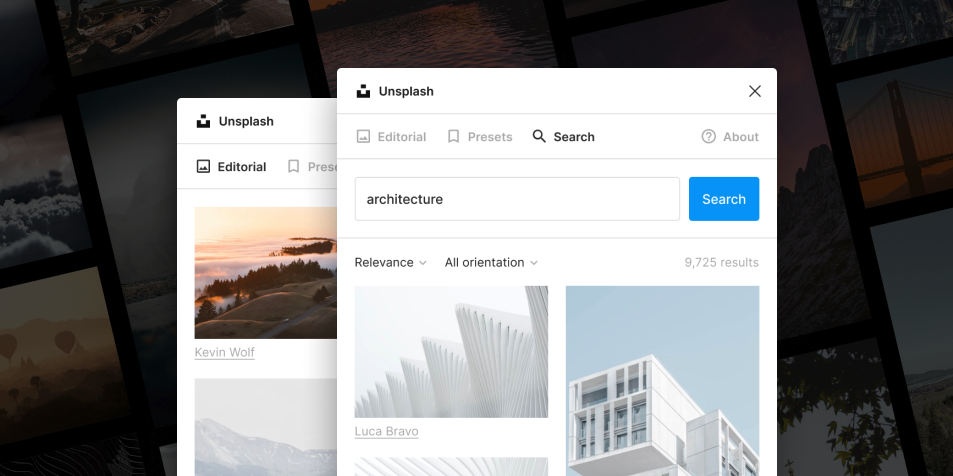
Sometimes you don’t have the images that you need. Sometimes you just need images for prototypes and mockups. At these times, you also don’t want to just take any image from the internet because of copyright issues. With Unsplash, this is not a problem: all images are free to use for commercial or non-commercial purposes.
You can use its search functionality to find whatever images you would need for your mockups to make them more realistic and presentable. Once you find an image you like, just click on it, and it will appear in your design file.
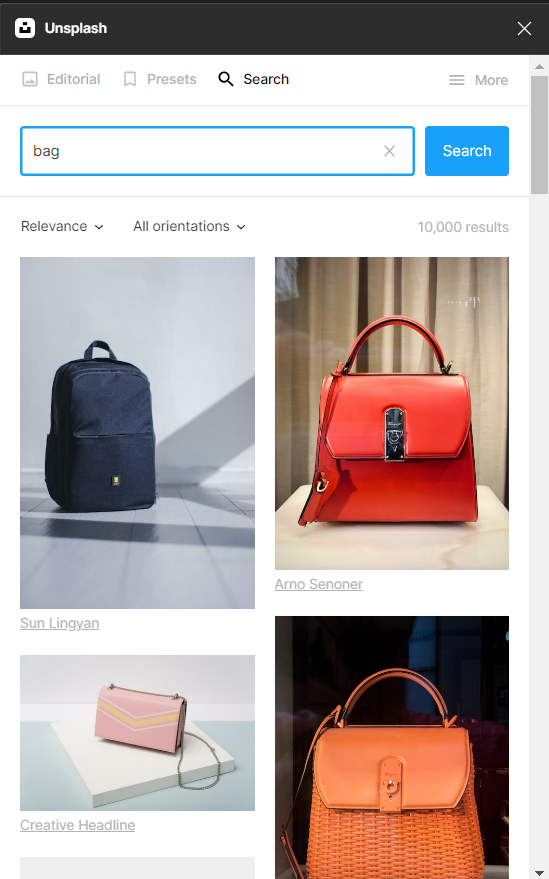
At PeachPay, we use Unsplash to get product images for our mockups. We mostly use these images on our marketing site and social media posts:
4. Remove BG

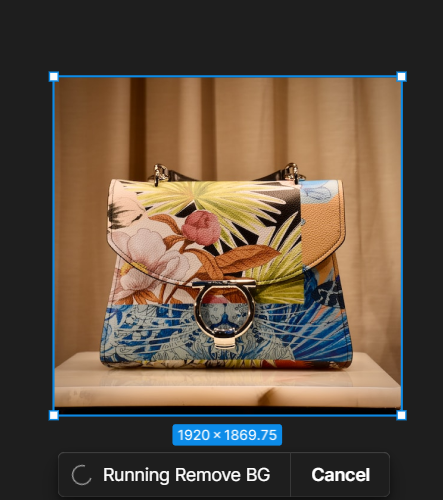
You have some image from Unspash or from anywhere else, but you don’t like the background of it. What can you do? In the past, we would have used Photoshop for this, but with Remove BG, that is not necessary anymore. In fact, getting photoshop for just this would be way too expensive. As the name suggests, Remove BG just removes the background of any selected images.
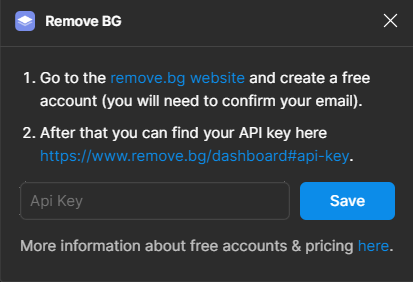
When first using it, you will need to add an API key:
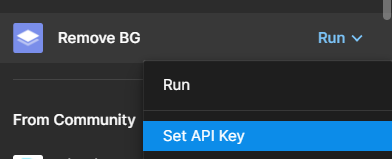
When clicking on ‘Set API Key,’ a small window with instructions will appear. When creating and logging into your account, you might see it saying that you need to get some credits – you don’t! Just add the API key into the input field, and you will be good to go.
Follow the links to find your API key, paste that in, and save it. After that, just select the image you want to remove the background of, and run the plugin.
After a few seconds, it will return the image without any background:
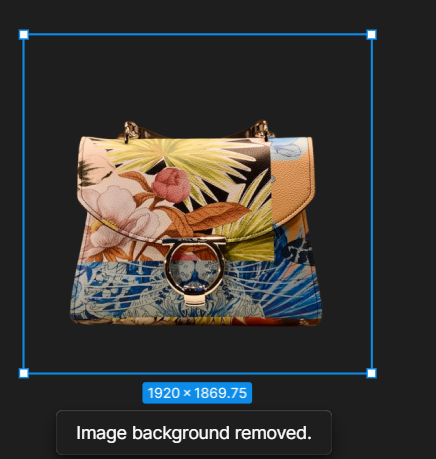
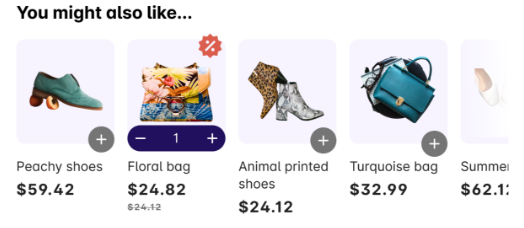
We use this plugin on all the images that we got from Unsplash to create a more consistent look that fits our styling:
While this plugin doesn’t offer all the capabilities that Photoshop does, it has a feature that we need the most.
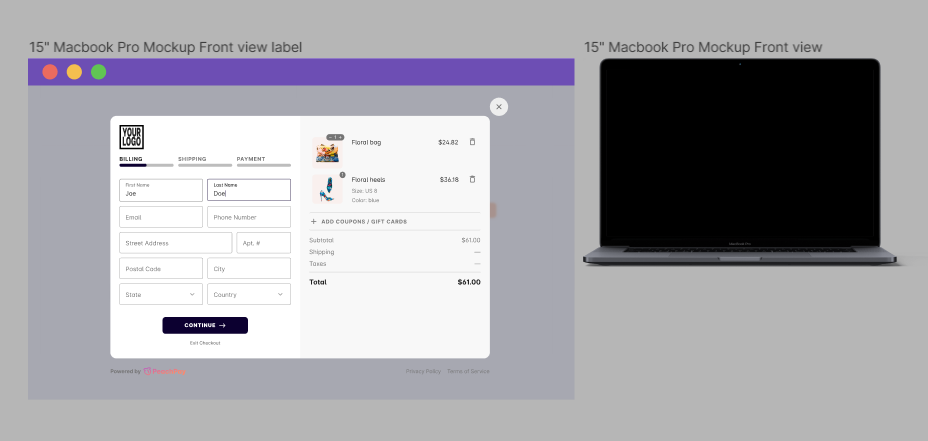
5. Artboard Studio Mockups
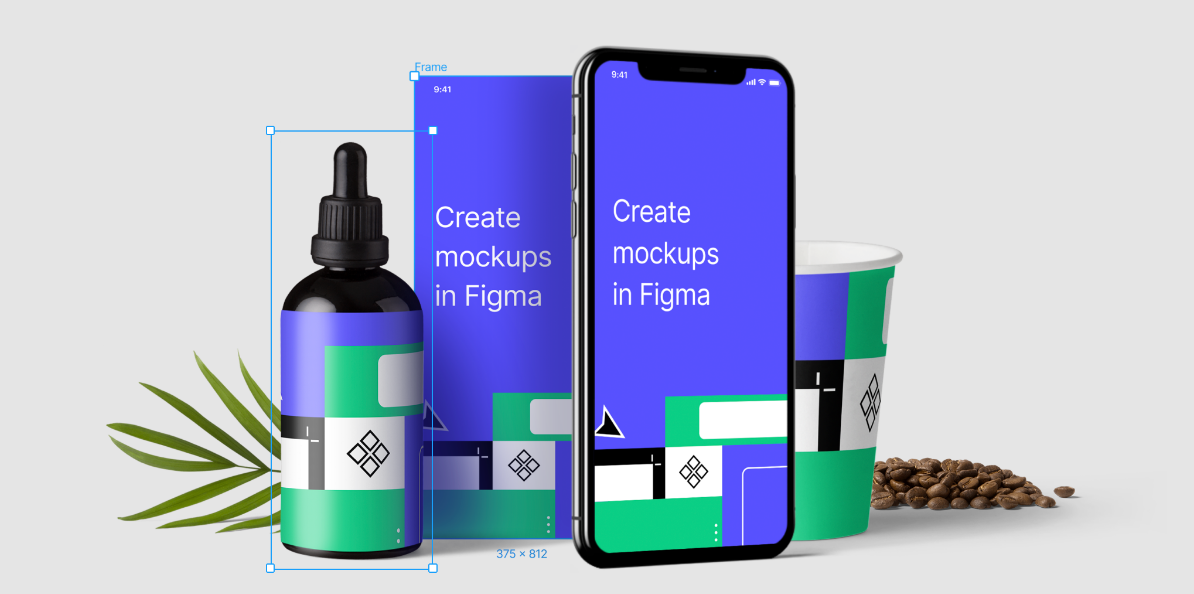
You have a great design and prototype ready to go. It works great for development, but for marketing, you want to make it a bit more realistic: show how your mobile or desktop mockup would look like in real life. For this, many people might go to Photoshop; however, this is also possible through Figma for free. With Artboard Studio Mockups, you can make any frame appear in any device prototype.
Similarly to Remove BG, when you run this plugin for the first time, you will be prompted to add an API key:
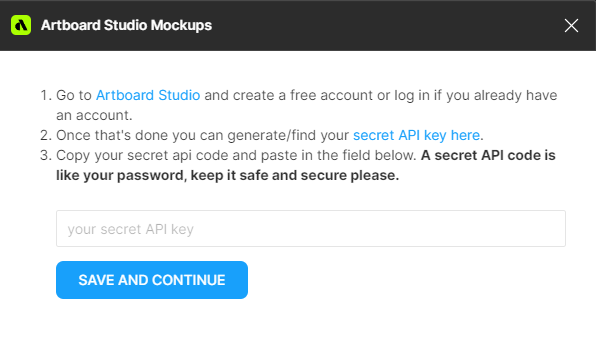
Follow the links to find your API key, paste it, and save it. Once you have done that, you will see many different device prototypes:
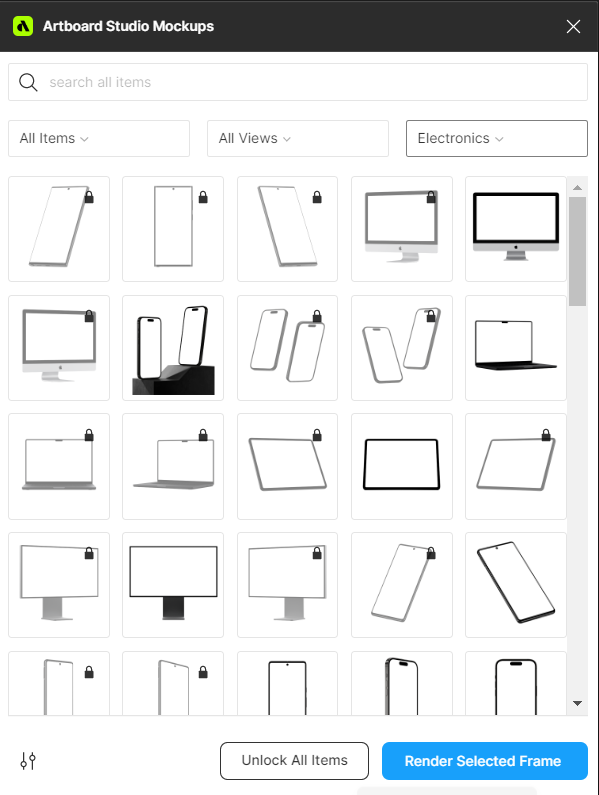
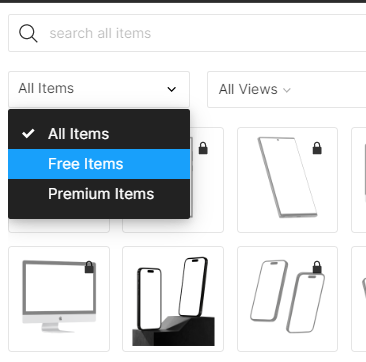
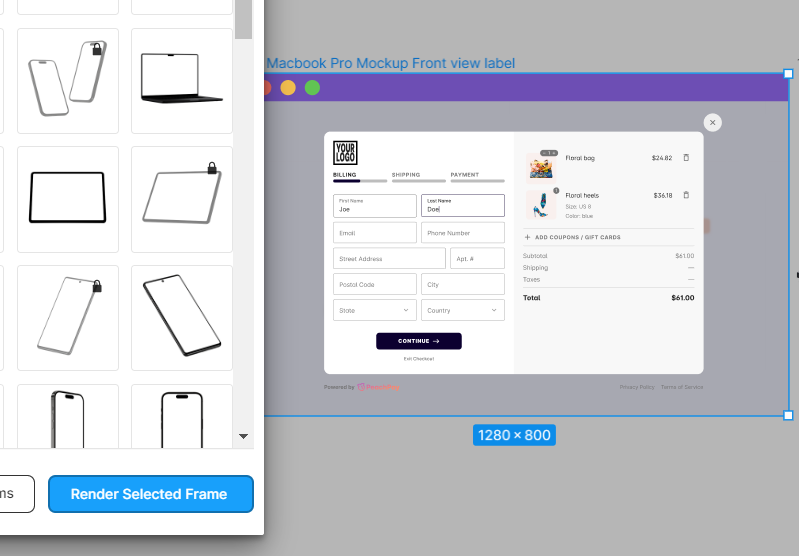
You can filter out all the free items if you don’t want to use their pro plan. Don’t worry, the free plan has all the basics that you will probably need.
Browse through the options, and once you find one that you like, click on it. It will render the device and an empty frame.
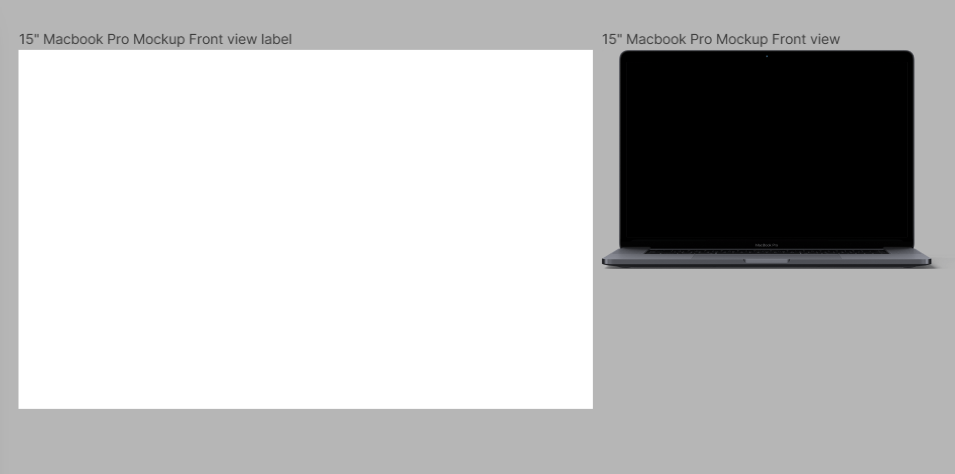
Move your design into the frame and resize it if needed:
Quick tip: The easiest way to resize your design in Figma is by clicking ‘k’ on your keyboard, and it will let you resize it while keeping the proportions of everything – including texts.
Once you have done that, select the frame, and click the ‘Render Selected Frame’ button.
It will be loading for a few seconds, and then show up on your device!
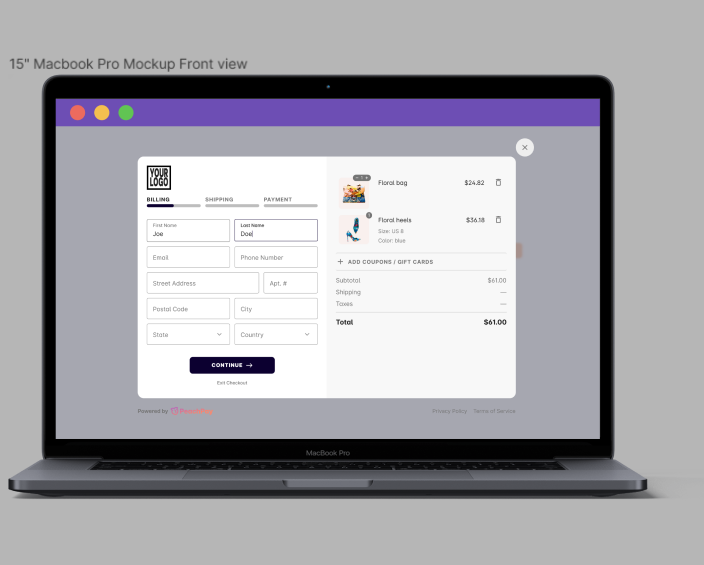
If you want to change anything about it, you can always make the changes on the frame, and re-render it with the button.
At PeachPay, we used this frequently to create assets for our marketing site and social media posts. However, we have decided to not use device images anymore, but if we still would, Artboard Studio Mockups would be the plugin we would use on a daily basis.
6. Figmotion
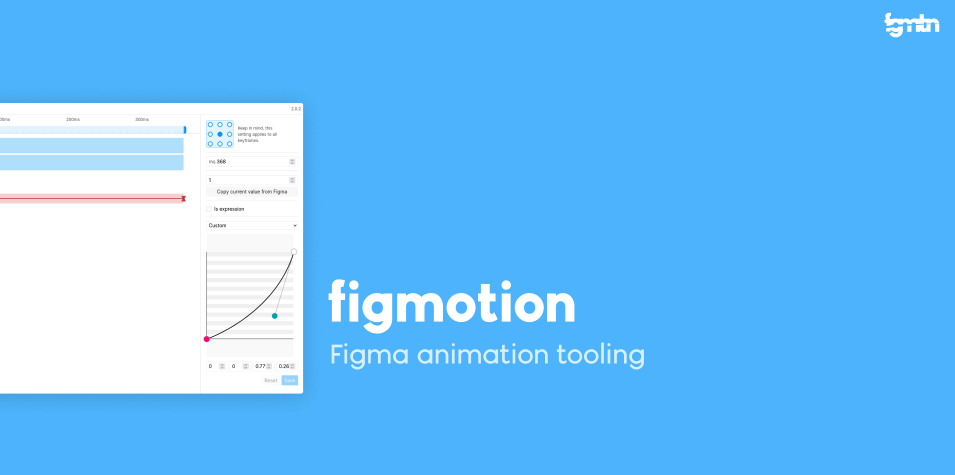
Sometimes, after you have your beautiful mockups and prototypes ready, you might want to show the interactions and how it would work. Of course, you can use Figma’s built in prototyping tool, but you can’t display that easily on your websites or social media posts. Instead, you will probably want an mp4 video or a gif, and sadly, you can’t export your interactive prototype into such format. A solution to this could be to export your mockups as images or .svgs, and import them into Adobe’s AfterEffect (or a similar tool) to animate them. This could cost money in different softwares. Luckily, with Figmotion you don’t need to pay. You can do everything that you would do in AfterEffect, but within Figma, without having to export anything.
Select the frame that you want to animate, and then run the plugin on it. When you do so, it will open a window that gives you a code. It will also open a tab in your browser where you can input the given code.
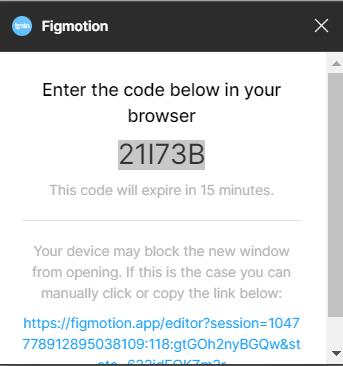
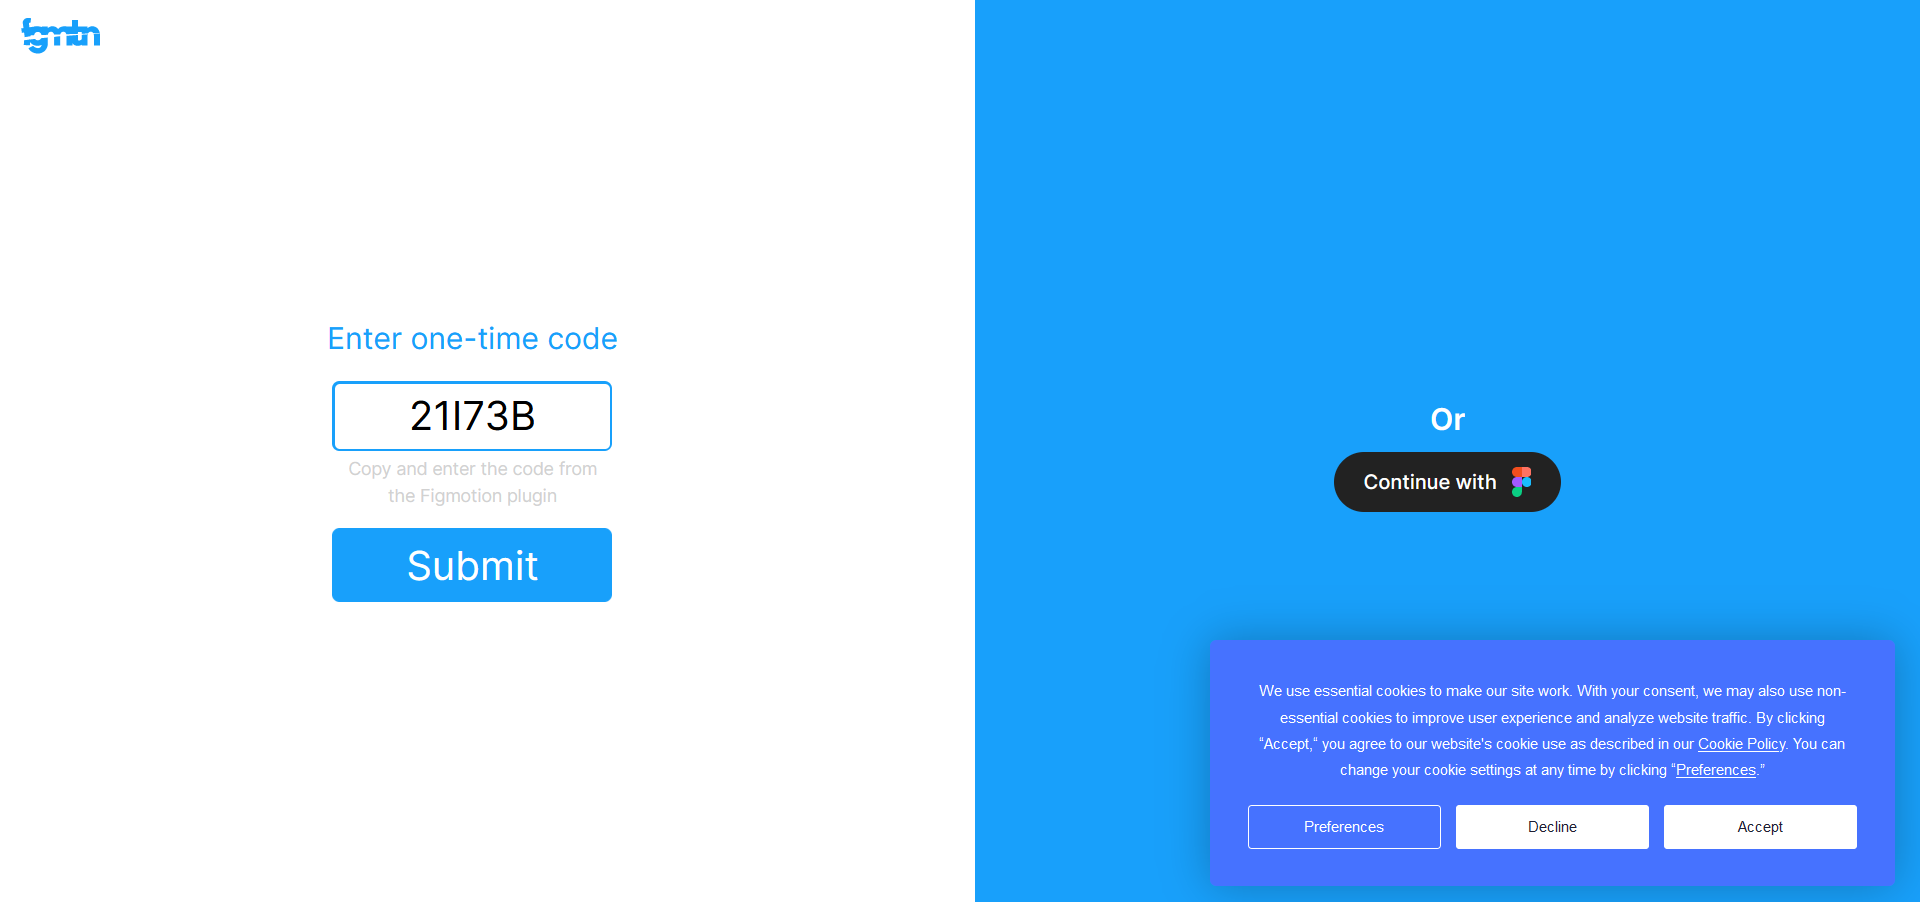
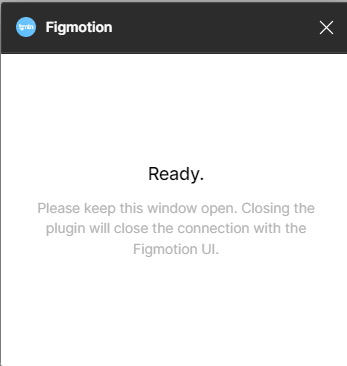
Unlike other plugins, the interface of this plugin is in your browser, and not in your Figma file. With the code, your browser tab will be connected to your Figma file. You can see a message in your design file too, that warns you not to close the plugin window.
In the browser on the left, it will show all the layers that you have in your selected frame.
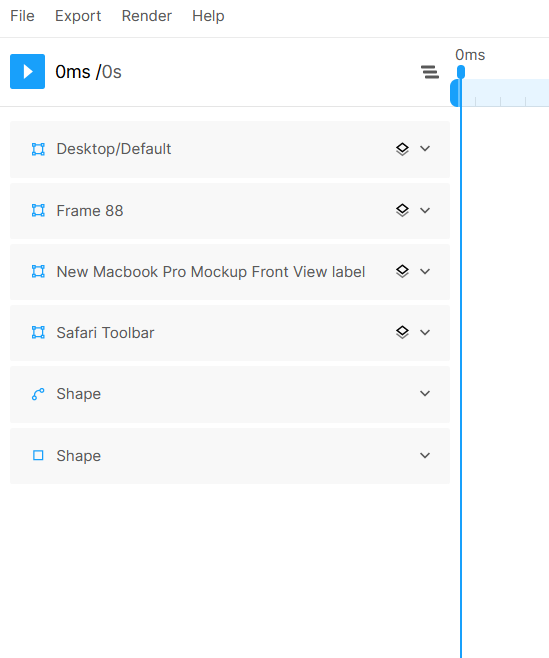
This is where it becomes important for your layers to be labeled nicely (not like in the above example), so you know what you are animating exactly.
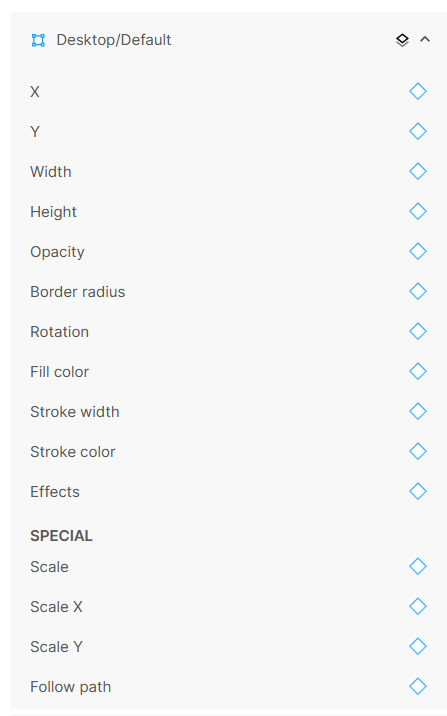
When clicking on the layer that you want to animate, it will give you multiple options on what to animate: its position, dimensions, border, opacity, and more.
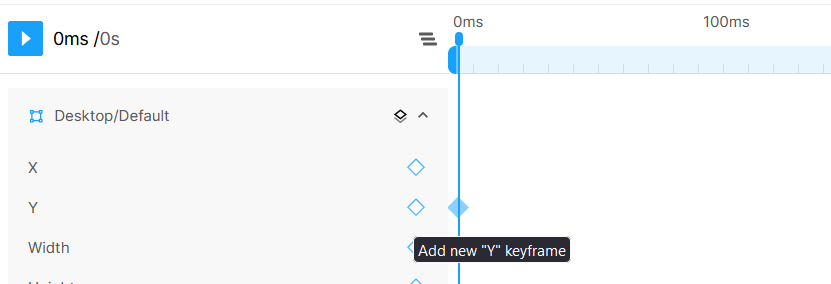
Put in the time where you want to fixate the layer’s attribute (in the example it is at 0 ms), and click the empty diamond on the attribute that you want to set. When you do that, a filled in diamond will appear at the chosen timestamp.
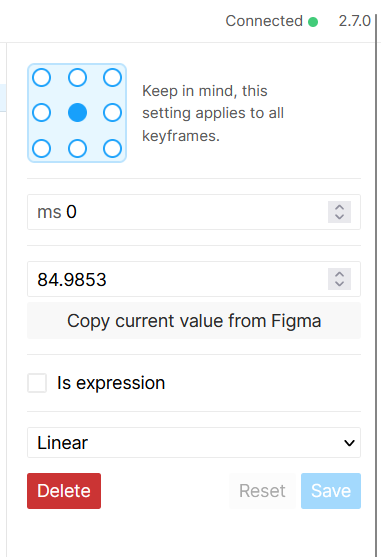
To set the attribute at that timestamp, click on the filled in diamond, and on the right side a tab will appear where you can make the changes:
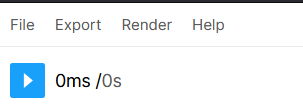
To see your progress, you can play the animation by clicking the play button and it will show in Figma:
Once you are happy with the result, click ‘Render’ in the top left corner, and a popup will appear where you can choose the file type (.mp4, .gif, .webm), the frame rate, and the transparency color.
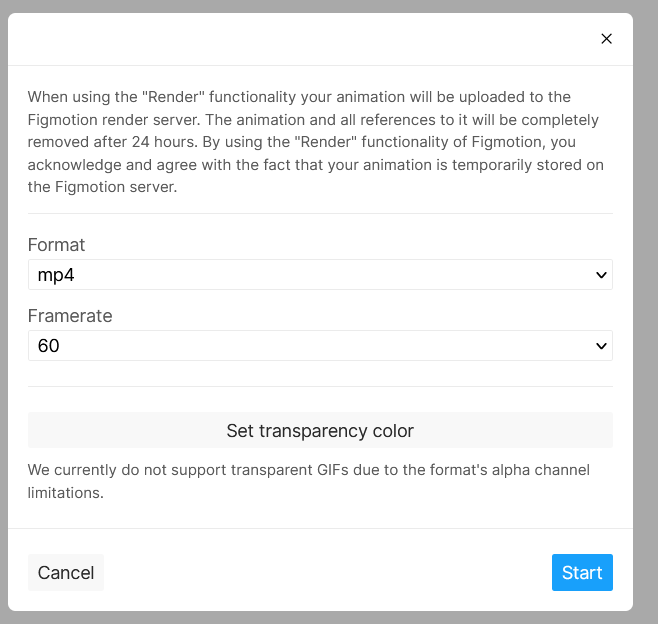
When you are done with the settings, just click ‘Start,’ and it will start creating your file to download.
If you have experience with other animation tools, the learning curve for this will be shallow. This tool has come in super handy for us when we wanted to showcase animations on our marketing site or social media posts to show how our product works.
7. SkewDat
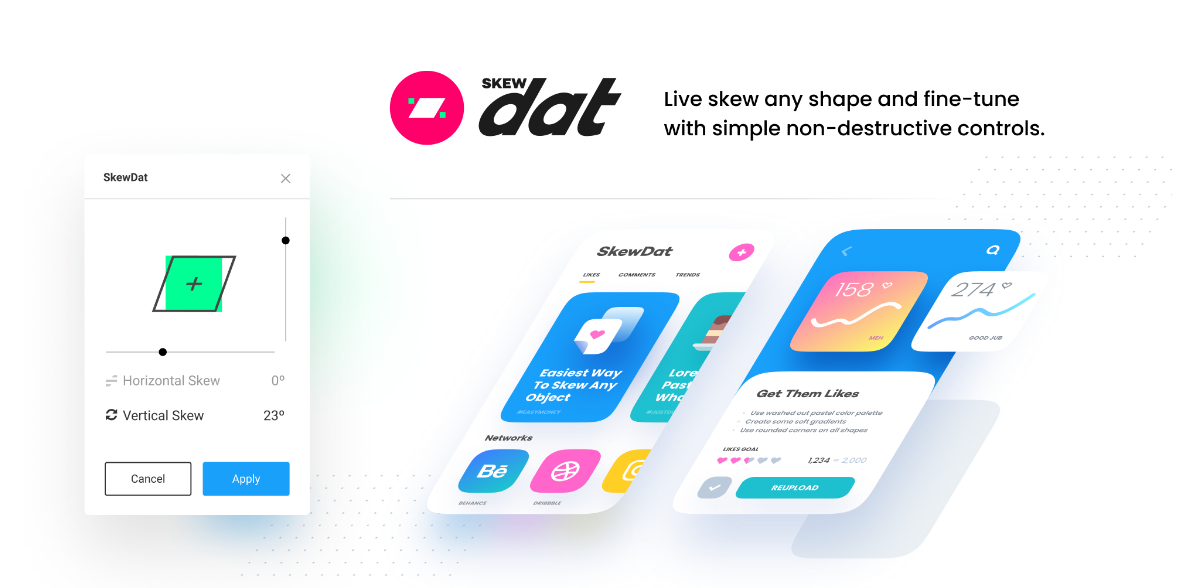
When you create your designs, they look 2D, but sometimes when displaying them on social media or on your website, you want it to look more 3D – giving it more of an isometric design feel. We tried out many different isometric plugins before finding SkewDat, but we found this one to be the best. SkewDat differs from other isometric plugins by allowing the user to choose exactly the horizontal and vertical skew, whereas other plugins have them set as default.
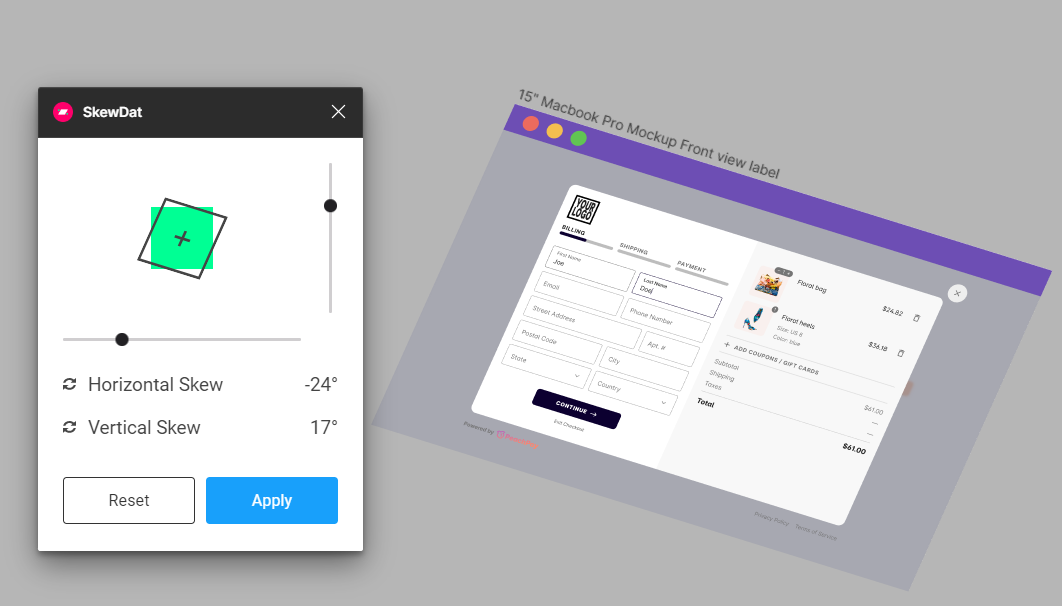
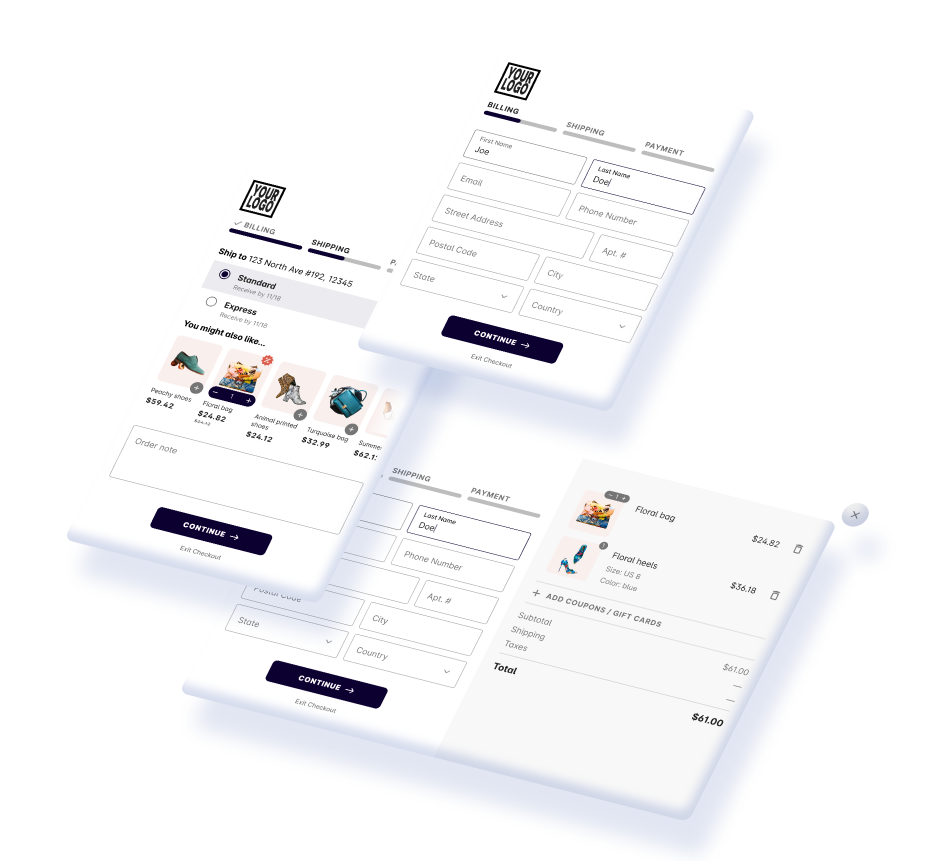
We have used this previously to create images for marketing purposes:
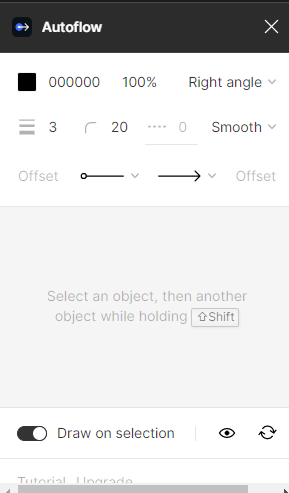
8. Autoflow
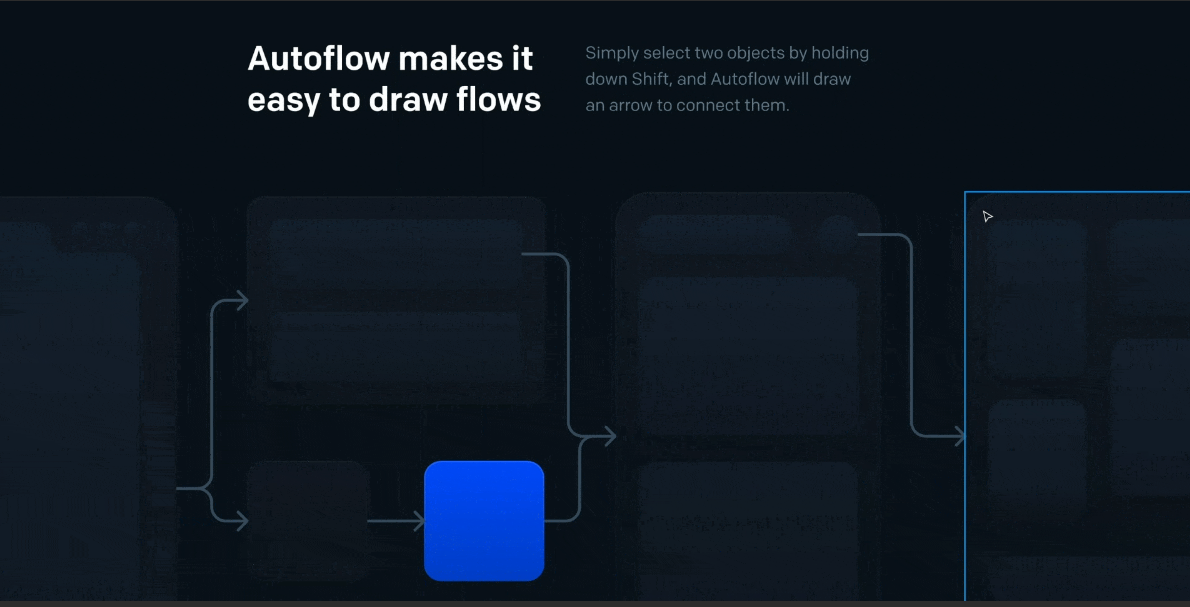
When documenting and labeling your designs, or showing the user flow for developers, one of the most popular plugins is Autoflow. With this plugin, you can create nicely structured arrows from one frame to another.
When you run the plugin, a window will appear where you can style the arrows that it will create.
To make a connection between two frames, select the first frame (where the arrow should go from) and then the second one while holding the Shift button on your keyboard. In our example below, we selected the button frame first and then the Window frame.

Currently at PeachPay, we use it mostly in our marketing images where we want to label certain features:
Wrapping up
Figma has a lot to offer and thanks to its community, it has several hidden features through plugins. These make Figma great to use for all type of design needs, let it be UI/UX related or graphic. While there are thousands of plugins out there in 2023, here at PeachPay we have used the 8 plugins mentioned above excessively in the past 1 year, making our design flow faster and more efficient. We hope this article helps you get started with Figma plugins and that you will find many other hidden gems within the Figma community that fits your needs.
Tag us on twitter at @peachpayhq , and let us know what has worked for you!